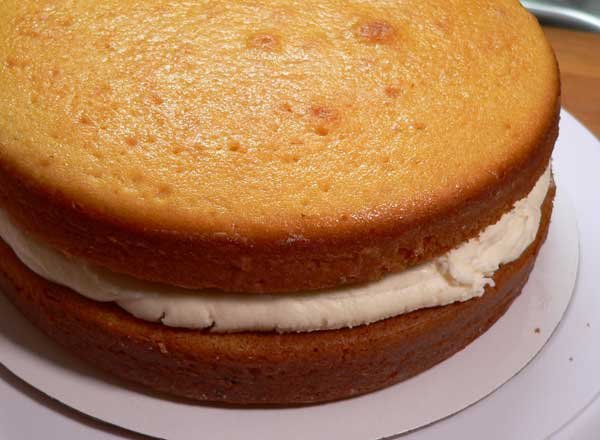
Follow our easy, step-by-step, photo illustrated instructions to learn how to make these easy Golden Butter Cake layers. Just add the frosting of your choice. Printable recipe included.

Golden Butter Cake will become your favorite recipe for making your basic cake layers. So easy to do, moist, and great for decorating.

Cake is my favorite dessert of all time. I’ll take cake over pie any time, and this Golden Butter Cake with it’s yellow layers is super moist and very delicious. And, did I mention it’s so easy to make?
You’ll need two bowls, one for the dry ingredients and one for the wet ingredients. Mix each group together and whisk until fully combined, then add the wet ingredients into the dry and whip those together – by hand. No mixer is needed. How easy is that? Smile.
I’ve just started using baking strips on my cake layers as I bake them. They’ve made a huge difference for me in the way my cakes look and I’m pretty certain I’ll be using them from now on. No more big domes in the middle of each layer that had to be cut off in order to stack the layers. Can’t argue with that now can we?
Plus, these layers turned out really moist with the addition of the sour cream, but the texture was good and firm and held up well to my feeble attempts to frost and decorate the cake I’m making with these layers.
You can frost these layers with your favorite frostings for a really quick and easy homemade dessert any old time.
I made these to use with my Easter Bunny and Eggs Cake which you can see just as soon as I complete it. I decided to just do a separate post for making the layers so I can revert back to these in other recipes I hope to post here on Taste of Southern.
Although I’ve always been interested in cake decorating, I’m not very good at it. I think I’m making some small improvements, but my hands just aren’t steady enough for all that intricate flower making and piping stuff that I see elsewhere. Mama never made pretty cakes, but she sure did make some really great tasting ones.
I hope you’ll enjoy these for lots of your favorite occasions coming up. Let me know if you try it.
Ready to bake some layers? Alright then, let’s head on out to the kitchen, and… Let’s Get Cooking.

Golden Butter Cake Layers recipe – You’ll need these ingredients.
Makes either 3 of the 6 inch layers or 2 of the 8 inch layers.

Add the flour to your sifter.
I keep my flour in a plastic container with a big wide open top. I always stir the flour up a bit to help aerate it, then I spoon the flour into my measuring cup, leveling off the top with the edge of a knife to have one level cup of flour. That’s then placed into my sifter to sift out any lumps and to aerate the flour even more.

Pour the sugar right on top of the flour.

Add the baking soda.

Add the baking powder.

Add the salt.

Sift everything into a large mixing bowl. Set aside for the moment.

Grab a smaller bowl and add the three whole eggs.

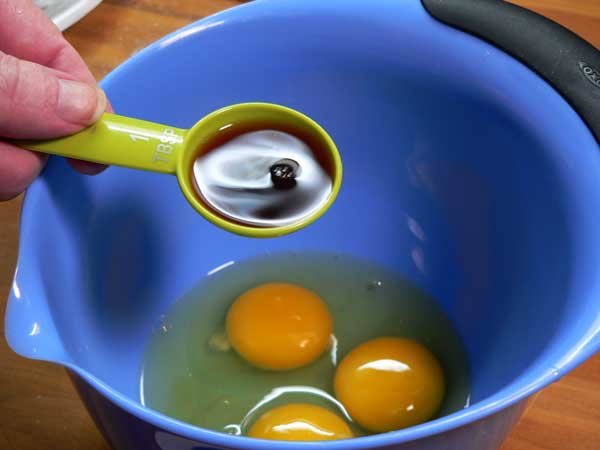
Add the vanilla flavoring.

Add the sour cream next.

Add the milk.

Add the butter. It should be pretty much melted and cool so it doesn’t start to cook the eggs.

Grab your whisk and whisk all the ingredients together until fully combined.

Add the wet ingredients to the dry ingredients.

Whisk everything together until fully combined. Doesn’t take but a minute.

Prepare your cake pans.
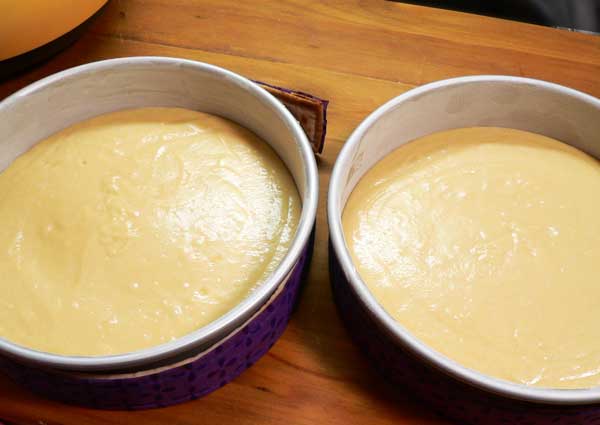
I’m using two of the 8-inch cake pans to make my layers. It’s hard to tell by the photo, but I do use parchment paper in the bottoms of my pans. I rubbed some butter in the bottom of the pan, added the parchment paper, then buttered the top of the parchment paper and all around the sides of the pan. Next, I dropped a couple of Tablespoons of flour in the pans and then rolled the flour all around the sides and bottom until both were fully coated with flour. Then, I dumped out the excess flour, tapping the bottom of the pans until it just left a light coating of flour inside the pans.

Divide the batter evenly between your pans.
This is only the second time I’ve used these wet cloth wraps around the outside of the pans. It’s suppose to help the cake layers bake up without a big dome in the middle. You can buy these in many of the bigger stores that sell any type of cake supplies or online. You soak them in water for about 10 minutes, wring them out, then secure them around the outside of your pans just before placing them in the oven.

Place the layers in your pre-heated oven and let them bake for 20-30 minutes or until done. Mine were ready in 20 minutes, but all ovens vary so you’ll just need to watch yours carefully.
Layers are done when a toothpick inserted into the middle of the layers pulls out clean and free of any crumbs. You can also watch for the layers to pull away from the inside of the pan and be springy to the touch when you press on the center of the cake.

When the layers are done, remove them from the oven and place on a wire rack to begin to cool.
Can you see how the layer has pulled away from the inside of the pan? Smile.

After 10 minutes, flip the layer out of the cake pan.
Run a butter knife around the outside of the cake layer to be sure it’s loosened from the pan fully. Then, place the wire rack on top of the pan and flip everything over. The cake should easily drop out of the pan. If it doesn’t, try tapping around the bottom of the pan with the end of the butter knife to loosen it until it drops.

I generally use my hands to flip the layers right side back up. You need to let the layers rest on the wire racks until they are completely cooled before trying to frost them. Aren’t they pretty? And, can you see how flat the tops are because of using the baking strips. I think I’m hooked on using those. No more trying to remove the tops to make a layer level. Smile.

Enjoy!
Once your layers are completely cooled, you can begin to assemble your cake. Just add the frosting of your choice and decorate as desired.
I made these layers specifically to make my Easter Bunny & Eggs Cake for 2019. You can see that recipe next week.


