Follow our easy, step-by-step, photo illustrated recipe for making these super delicious Cinnamon Pickles. Sometimes referred to as Christmas Pickles, they would indeed make great gifts, for anytime of the year. Made with Red Hot Cinnamon Candies, we’ll show you how to make them, and then show you how to can them using a water bath canning process. Printable recipe included.
Cinnamon Pickles: Made with Red Hot Cinnamon Candy
Making pickles is the reason I started canning several years ago. Not this particular recipe, but still, pickles are what got me started.
I’ve mentioned it before, but my mother made a great Sweet Pickle. They were sweeter than usual, and she used those pickles and the juice from them in various recipes of some of her best dishes. Her Potato Salad, Chicken Salad, Deviled Eggs and more, all included some juice from her pickles.
It was the desire to taste those pickles again that started me on the journey to learn how to make them just like she did. I had good success the first year and it launched me into other canning adventures. I’ve been canning jams, jellies, pickles and preserves ever since.
Mama never made Cinnamon Pickles. I don’t recall that she ever made any Dill Pickles. Her special Sweet Pickles were the only one’s I have any memory of.
A couple of years ago, I purchased a small jar of Cinnamon Pickles from Southern Supreme, the Nutty Fruitcake Company up around Bear Creek, North Carolina. It’s about 30 miles from where I live and they make one truly awesome fruit cake. It’s filled with nuts and nothing like your typical idea of what a fruit cake taste like.
Southern Supreme has a retail store and they go all out at Christmas time. Tour buses fill the parking lot all through the year, as folks from states all around visit and shop their location.
Among all the cakes, candies and cookies they carry, they also make several different types of pickles. A friend had mentioned their Cinnamon Pickles, so when I visited their store, I had to try them out. I was immediately hooked.
They don’t advertise the pickles on their website because they only make a limited supply each year. I found that out the hard way when I went back one visit to purchase fruit cake and another jar of pickles. They were all sold out, and I was a unhappy camper.
I’ve wanted to make these ever since I found several recipes for them. What’s really neat about this pickle, is that it uses those big old cucumbers that are generally tossed away instead of being used for anything. Their large size makes them perfect for these pickles, as you will see below. They also use Red Hot Cinnamon Candy from my youth. How cool is that?
I recently was given some large cucumbers, but they still weren’t the really big old cucumbers that would be best for these. Still, I was happy to get the local cucumbers, and I knew exactly what I wanted to do with them.
I watched Uncle Bob as he pulled 17 big cucumbers from his vines late on the afternoon of July 4th. He’s not really an uncle, but the brother of my sister-in-law. My brothers kids and Grand Kids call him Uncle Bob, so the name has stuck and that’s how I refer to him. Thank You Uncle Bob, for the delicious cucumbers fresh from your vines. He didn’t move two steps to gather them all, they were that plentiful on his few vines.
This is also the first time I’ve ever worked with Lime in making pickles. Mama’s recipe doesn’t use Lime, so this part was a bit different for me. It really does make for a very crispy pickle, and it made them taste just as good as the one’s I’d purchased from Southern Supreme.
Please don’t let the fact that it takes Five Days to complete them keep you from making them. It’s not really complicated, and you will be well pleased with the final results once you’ve completed them.
Mama’s recipe for pickles takes about 5 weeks to make, and a couple of months to age out to perfection, so I was use to the wait.
The hard part will be getting these pickles into jars. You’ll probably start snacking on them once they reach about Day Four, and trying not to eat them all up can be a bit of a daunting task.
They will make great gifts too. They are sometimes called the Christmas Pickle, and if you search the Internet, you’ll find them made in both Red and Green colors. I think anyone that gets them will be very happy they were on your Christmas list.
But, enough talk, let’s get started. Are you ready to give them a try? Alright then… Let’s Get Cooking!
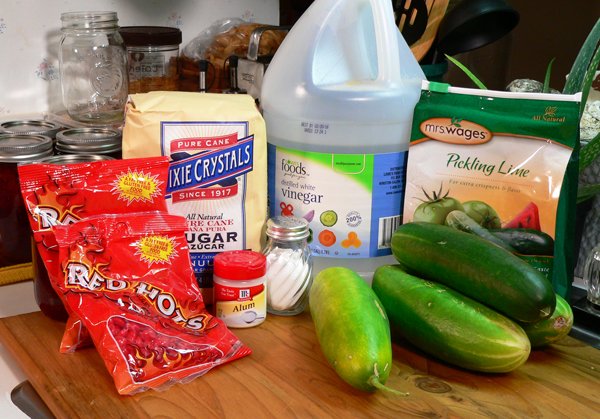
You’ll need these ingredients, and a few more cucumbers than shown here.
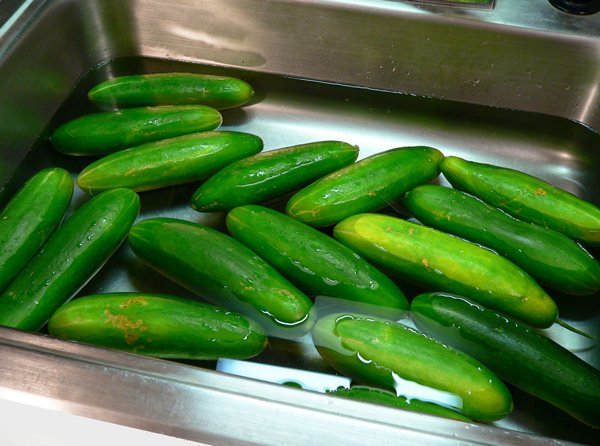
We’ll begin by placing all of the cucumbers in a sink filled with water. Scrub any dirt off the cucumbers, then drain the water off.
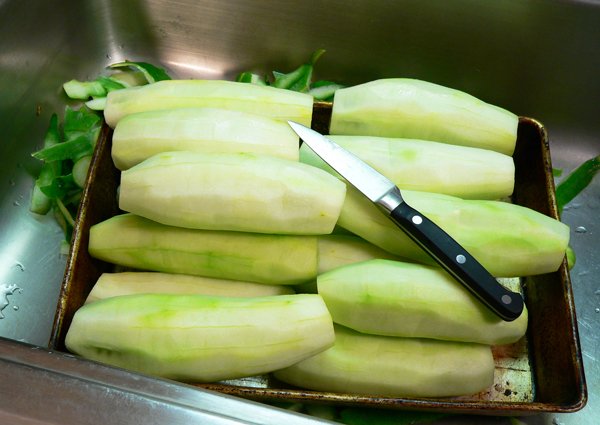
Using a paring knife or vegetable peeler, peel away all of the outside skin. Slice about 1/2 inch off of each end.
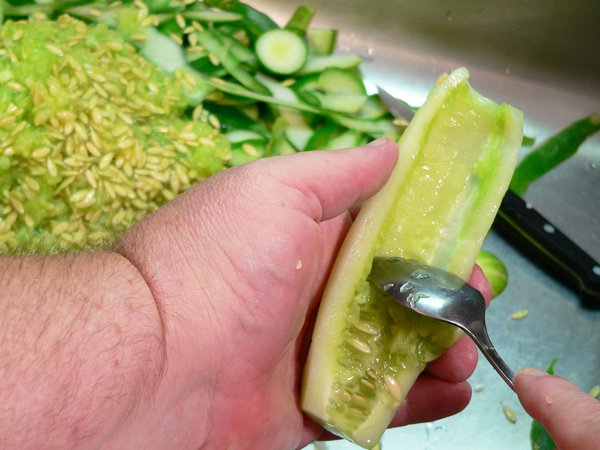
Slice each cucumber in half lengthwise. Then, use a spoon to scrape away the seeds from inside each half. Discard the seeds and peels.
Side Note: I attempted to save some of the seeds from the cucumbers for some odd reason, you know, trying to be all farmer like and stuff. I placed a handful of seeds in a container and covered them with water, tied the top with a piece of cheesecloth and was suppose to let it sit for about 5 days. Around day 4, I started trying to figure out where this obnoxiously awful smell was coming from within the kitchen. Finally realized that I had left the fermenting seeds INDOORS instead of setting them outside. It was really bad, and I had to just cap the container and throw everything away, molded seeds and all. Did I mention it was bad, really bad? (Smile)
This part took a little time to complete, but hang in there until you’ve got them all scooped out and clean.
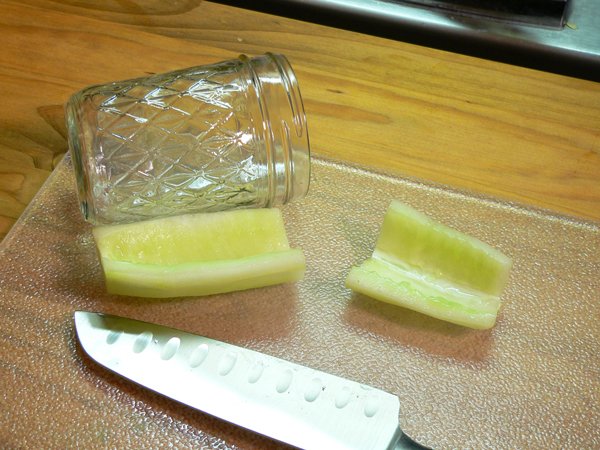
I knew I would be placing the pickles in half pint jars, so I wanted to make a good presentation with them. I used a jar to measure how long each slice could be, and still fit inside the jar. After I cut the first section, I used it as a guide to cut the remaining cucumbers. It worked out pretty good, as even the shorter end was pretty close to the size I was looking for.
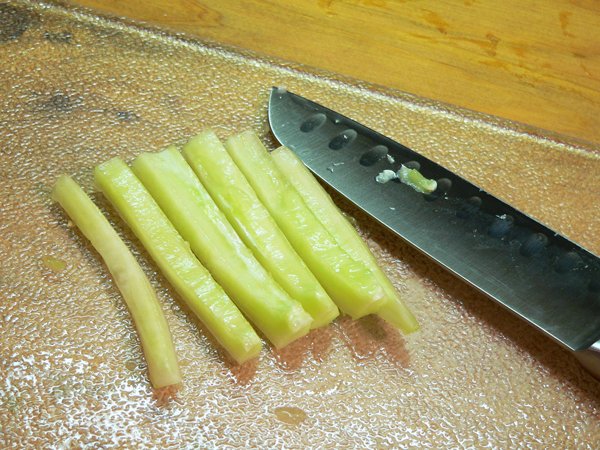
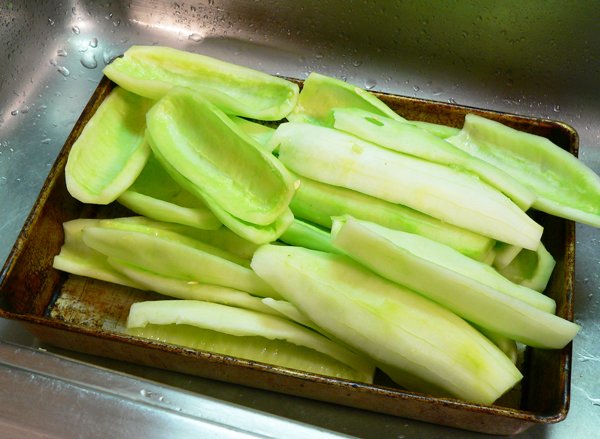
Next, I sliced the cucumber sections lengthwise, into these french fry looking shapes. These are about 1/2 inch wide, but I wish I had made them a little bigger. If you’re working with the larger cucumbers, your slices will probably be thicker than these were, so adjust accordingly.
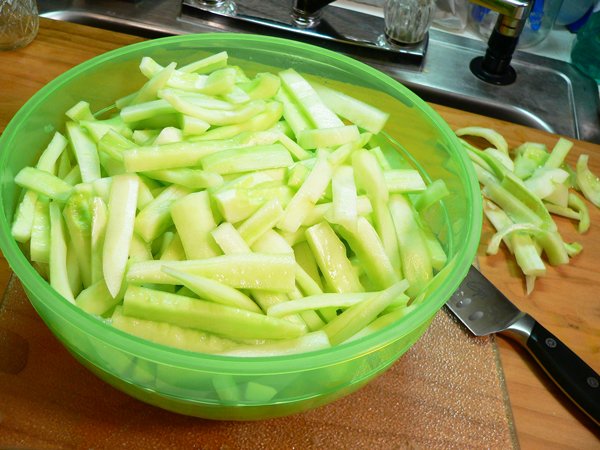
Here they are all sliced up. As you can see by the small pile in the top right, I really didn’t have much left that I wasn’t going to use. I just sliced up a tomato, tossed in the cucumber leftovers, topped it with some Ranch Dressing and enjoyed a nice little salad after I finished.
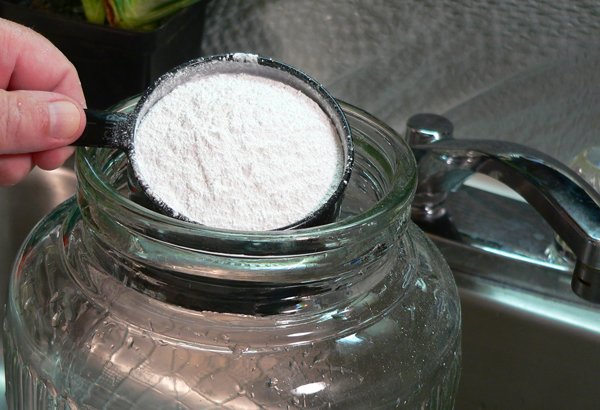
A large glass container will work well for the next steps. If you don’t have a pickle crock of some type, be sure to use a stainless steel container, or your enameled canning pot. DO NOT use Aluminum as the lime will react to it and cause pitting in the metal of the pot.
Carefully add the Lime into the container. Be careful not to stir up any dust from the Lime as you add it as this stuff will about take your breath away.

Add the 8 quarts of water to your container, and gently stir it around. The water will turn milky white as you stir. No need to get carried away with trying to stir it up as the Lime isn’t really going to dissolve very much at all.
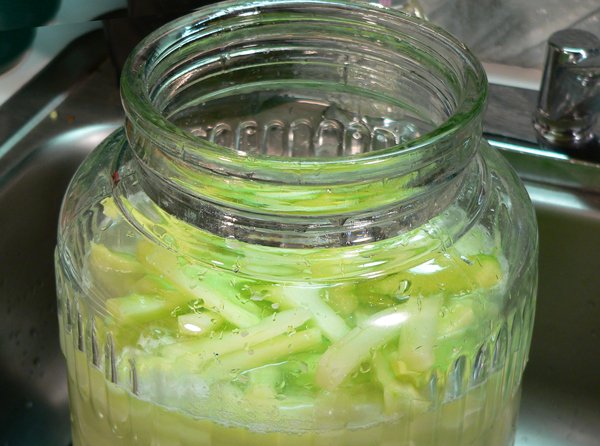
Add the sliced cucumbers to the Lime and water mixture. Add a little more water if needed to make sure the slices are covered.
LET SOAK FOR 24 HOURS.
I placed the lid to this jar on it and just let it sit on the counter over night. Make sure you clean up any Lime that might have been spilled and securely close the bag if you have any remaining. Store in a safe area, away from children and pets.
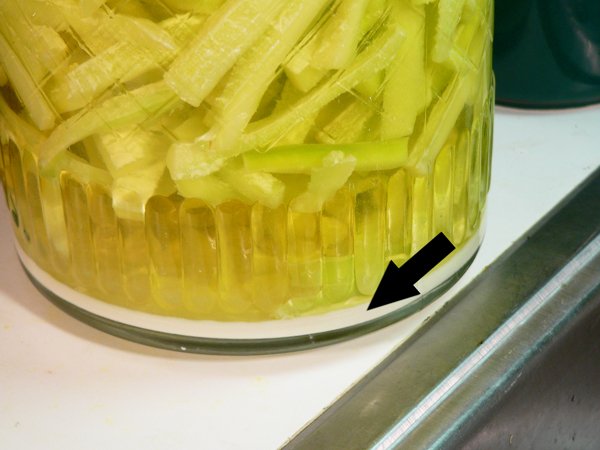
It will not take long before you notice the milky color of the water has now cleared up. As you can see in this photo, most of the Lime just settles to the bottom. This is to be expected so don’t try to stir it up again. If you could see it better, you’d also notice a layer of Lime laying on top of many of the slices inside the jar.

What you’ll need to do on Day Two.
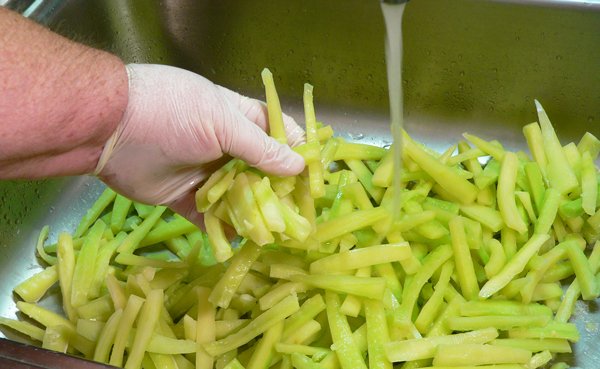
I had them, so I used them. I donned the latex gloves to work with the Lime on the cucumber slices. I emptied the jar into the kitchen sink, and started running cold water over the slices. Perhaps I really should have checked to see if this would cause any problems with the city in flushing the Lime down the drain. Too late now though.
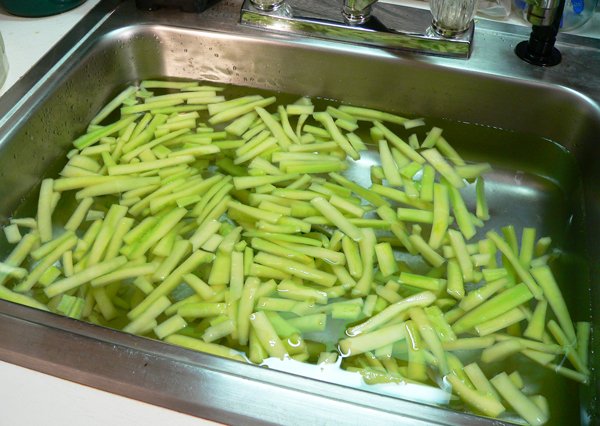
After I had rinsed them a bit, I plugged the drain and filled the sink with water so I could slosh them around a bit.

It took me a minute, but I soon realized just how crispy these slices had become. They were breaking really easy, with just minor movement in the water. So much for all that measuring and cutting to get the slices ready for the jars. Oh well, lesson learned.
I filled the sink back up with cold water, leaving the broken pieces in with the others. I still had a good number of whole ones, so maybe all will not be lost. We’ll see.
Soak cucumbers in water for FOUR HOURS.

I thought I had rinsed the slices pretty good before filling the sink to let them soak for four hours. By the end of the four hours, there was some type of fuzzy looking residue floating on top of the water.
You’ll need to drain this water off and rinse the slices once again.
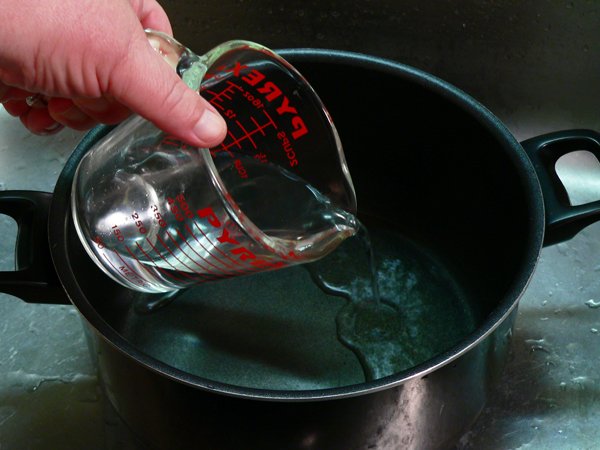
In a large stock pot, again not aluminum, add the Vinegar.
Add the Alum.
Alum is available in the Spice section of most grocery stores. It’s also used in pickling as a preservative to add crispness to the cucumbers. Alum was used by bakers in the 1800’s back in England to make bread whiter. Just thought you’d like to know.
Stir the Alum into the Vinegar. It will dissolve pretty quickly.
Place the drained cucumber slices in the Alum and Vinegar mixture. Add enough water to fully cover the slices, and place over Medium heat on your stove top.
Simmer cucumbers for 2 hours, stirring occasionally. Do not let boil.
Bring the water up to a low simmer, and continue to monitor the water as the cucumbers simmer for the next two hours. You’ll want to gently stir them every once in awhile and just keep an eye on them. Add a little more warm water if needed, to keep them submerged as they simmer.
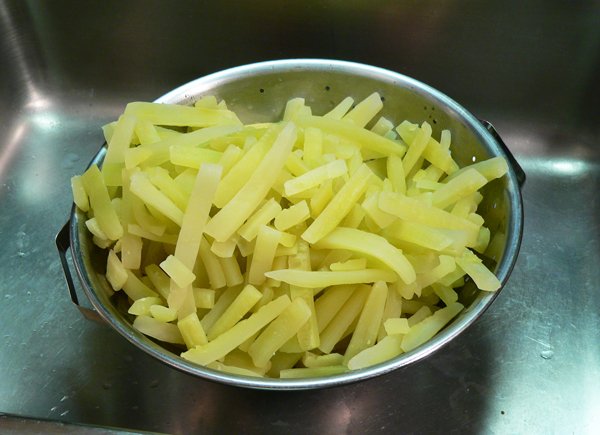
After two hours, pour the slices into a colander and drain off the water and Alum mixture.
In a clean stock pot, add the Vinegar.
I just rinsed out the same pot to use for the next step in the process. It’s time to make the syrup for our pickles.
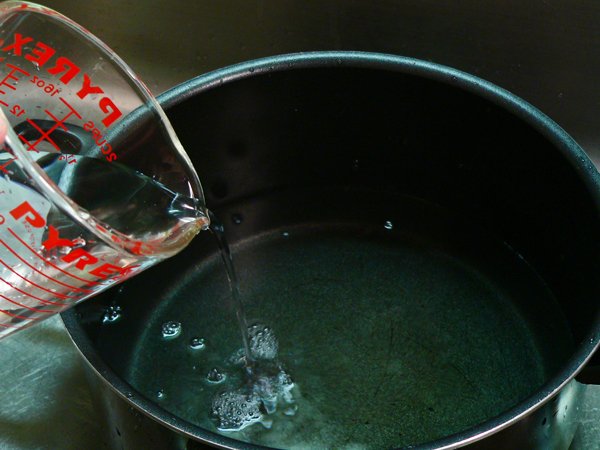
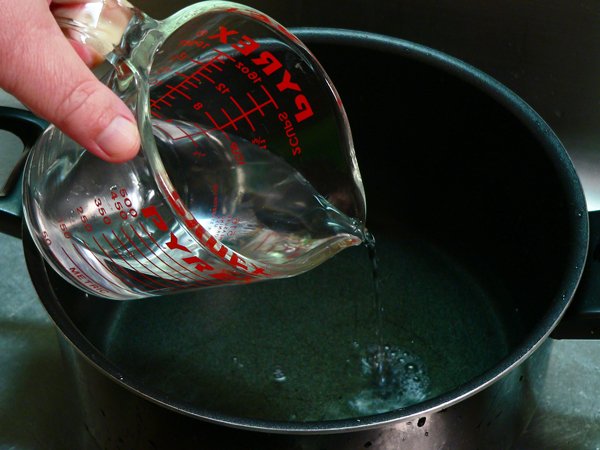
Add the Water.
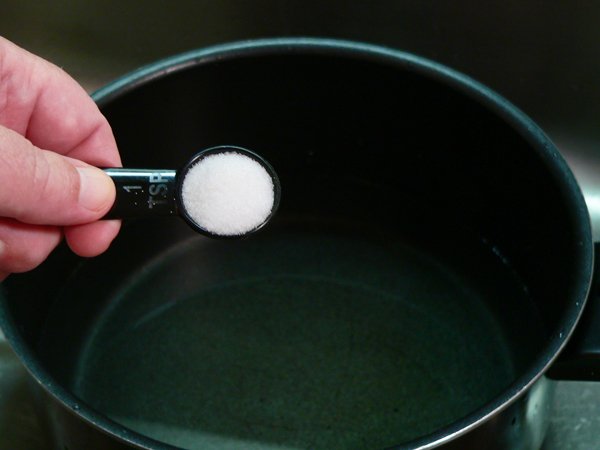
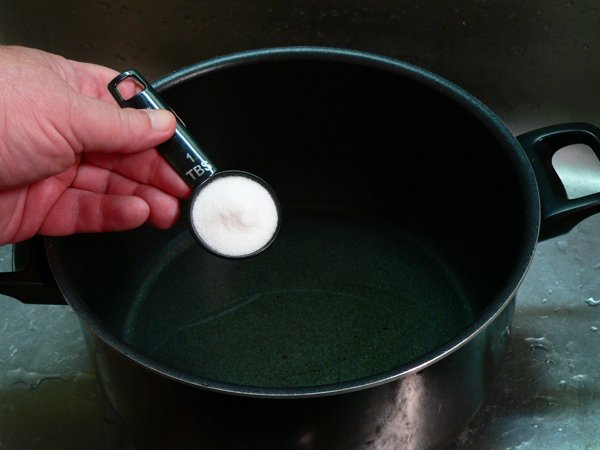
Add the Salt.
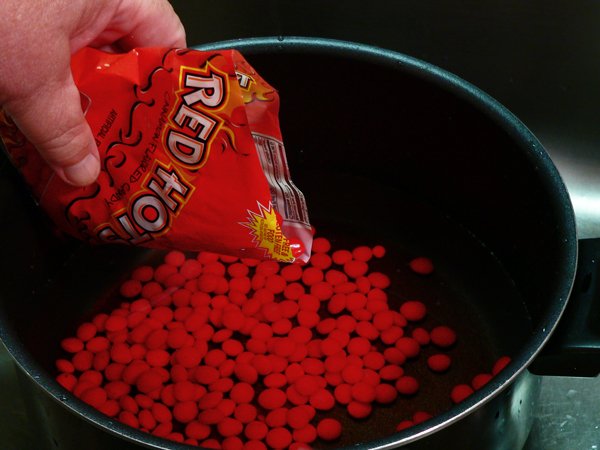
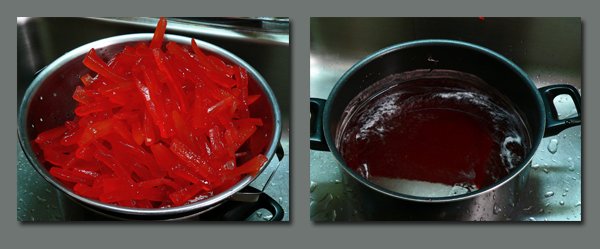
Add the Red Hot candies.
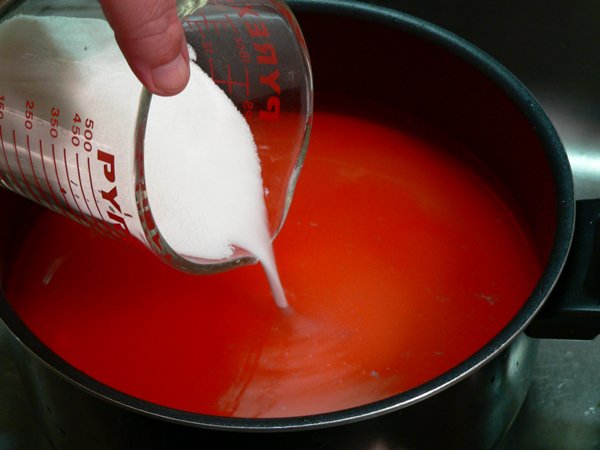
Add the Sugar.
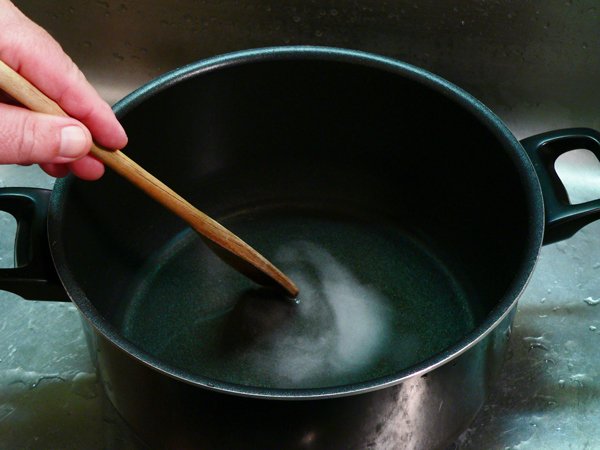
Bring this mixture to a low boil over medium heat, or just a bit higher. You’ll need to stir constantly until the candy and the sugar have dissolved. It took a few minutes to get the Red Hots to melt, but stick with it and make sure everything is fully dissolved, stirring as you go so nothing sticks to the bottom and scorches or burns.
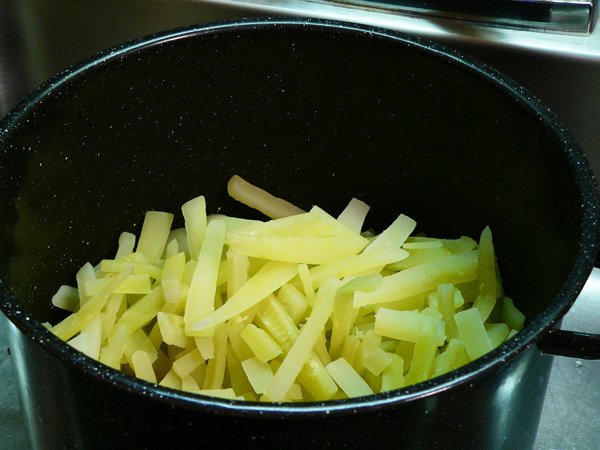
Place the drained slices in another large pot. I added them to my enameled canning pot for the next steps.
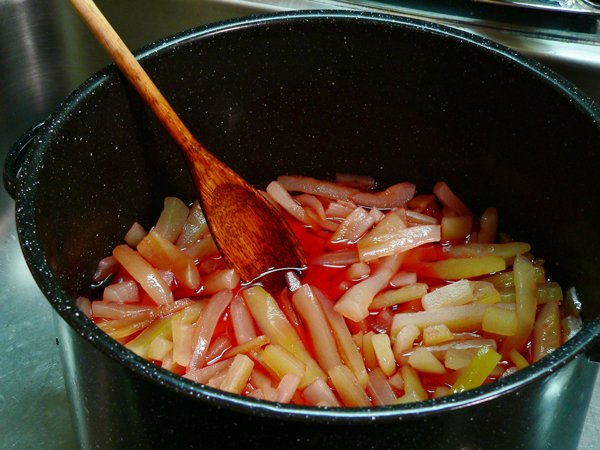
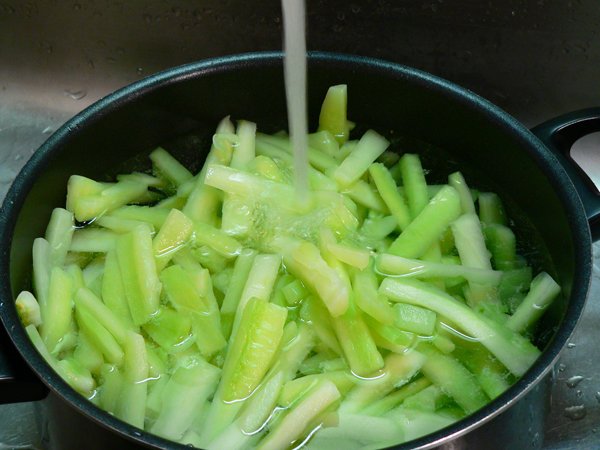
Pour the hot syrup over the cucumber slices. Stir gently so not to keep breaking them.
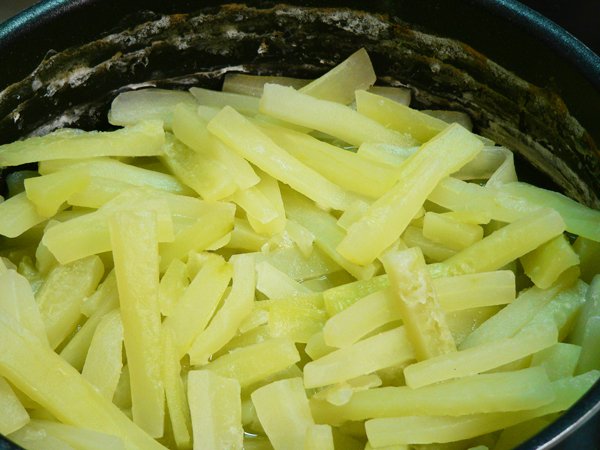
After they have cooled a bit… Cover and let stand overnight.

What you’ll need to do on Day Three.

Day Three and Day Four are the same. You’ll need to drain the syrup from the cucumber slices, but be sure you SAVE it and don’t let it go down the drain. I poured the cucumber slices back into a colander that I had placed in my large stock pot.
Place the syrup back on your stove top over Medium heat and bring it to a low boil. BOIL for ONE minute.
Place the slices back in the container you had them in, and pour the hot syrup back over them.
When it cools, cover and let stand overnight.

What you’ll do on Day Four.
Day Four is just a repeat of the same steps from Day Three.
Drain the syrup from the cucumber slices, but be sure you SAVE it.
Place the syrup back on your stove top over Medium heat and bring it to a low boil. BOIL for ONE minute.
Place the slices back in the container you had them in, and pour the hot syrup back over them.
When it cools, cover and let stand overnight.
Try not to eat too many of the pickles right now. It’ll be hard, but you have to remain strong. (Smile)

What you’ll do on Day Five.
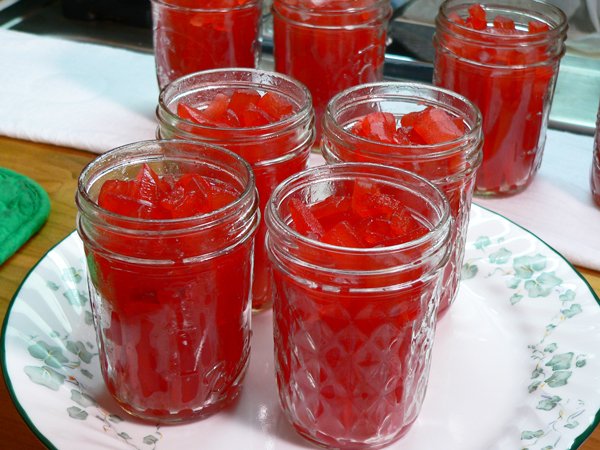
On Day Five, the pickles are ready to be placed in jars and processed using the water batch canning method.
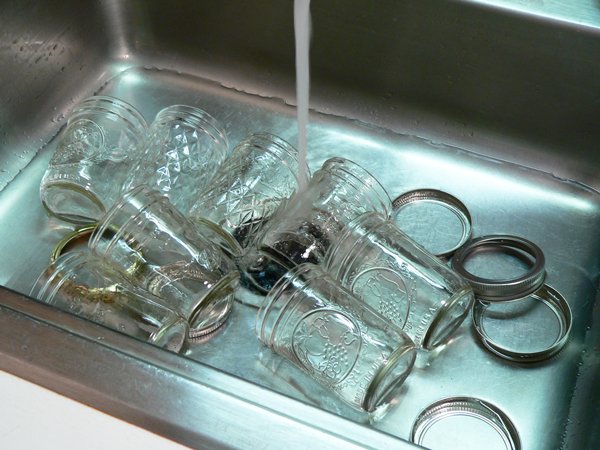
Begin by washing the jars and the bands in hot soapy water. Even if you’re using new jars, be sure to check them for nicks, especially around the tops, and remove any jars that have cracks or problems. You’ll also want to wash the Bands, but not the Lids.
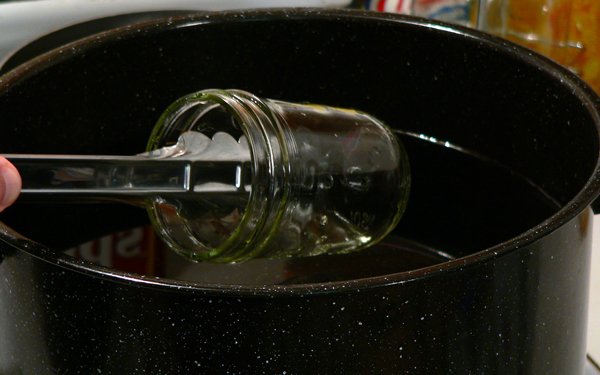
After washing the jars, I rinse them off and place them in my water bath canning pot. The jars need to be sterilized before adding the pickles to them. I have a rack inside the canning pot so the jars do not rest on the very bottom. You could also use a folded towel if need be, so the jars don’t get too hot and crack.
Fill the canning pot with water, and let the jars come to a good rolling boil. The jars need to boil for 15 minutes before you fill them. But, while we’re waiting on them to boil, we can go ahead and set up everything else for our filling station for the remaining steps.

You must ALWAYS use NEW LIDS when canning anything. The Bands may be re-used, but never the Lids. Place the lids and bands in a smaller sauce pot and cover them with water. I place this on the lowest heat setting on my stove top once the jars are inside the canning pot. They will be plenty warm enough to use by the time the jars have sterilized and we can get them filled.
Make sure to use a low heat setting. The bands and lids never need to simmer or boil. Getting them too hot could compromise the red rubber seal on the lids.
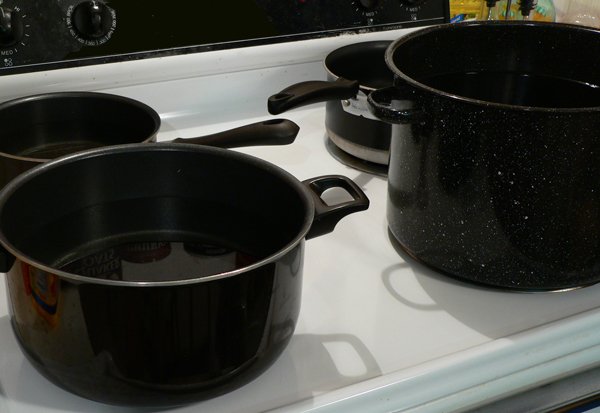
This is my typical stove setup for water bath canning. The Back Left burner has a pot with the bands and lids. The Back Right burner is just a pot filled with water and placed on Medium heat. I keep extra water so I can add more to the big canning pot as needed.
The pot on the Front Left burner is typically where I work with the food item I’m canning. And of course, the big pot on the Front Right burner is the canning pot itself. Right now, the jars are in the pot, boiling for 15 minutes to sterilize them.
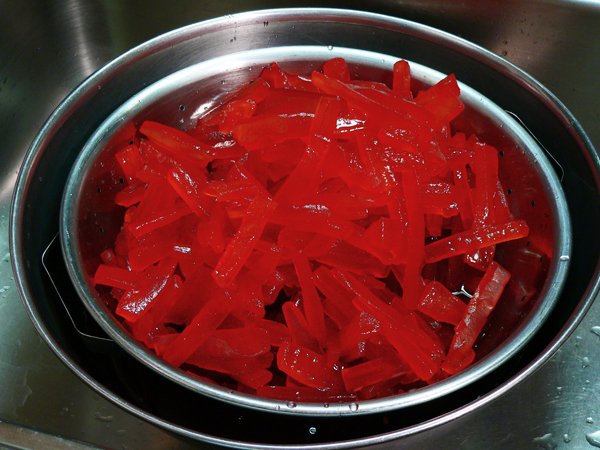
I had to use a large Stainless Steel Bowl to drain the syrup off the slices this time. I’m using the canning pot, but I needed to drain the syrup from the pickles so it can be re-heated yet again. SAVE the syrup of course, we’re fixing to heat it back up.
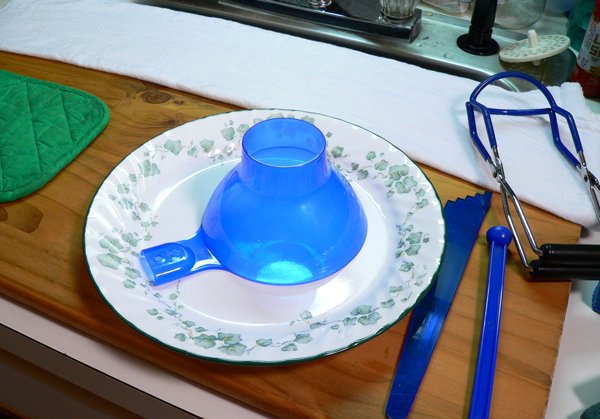
You’ll also need to setup an area where you can fill the jars. This is my typical arrangement for that. I have a Hot Pad on the left to place the heated syrup once it comes off the stove. The plate is used to place the jars on while I’m filling them. I’ve got a funnel, the notched head space tool, magnetic wand, jar lifter, and a clean towel to sit the jars on.
All of the blue tools come in a canning Kit that can be ordered online or found in many large box stores.
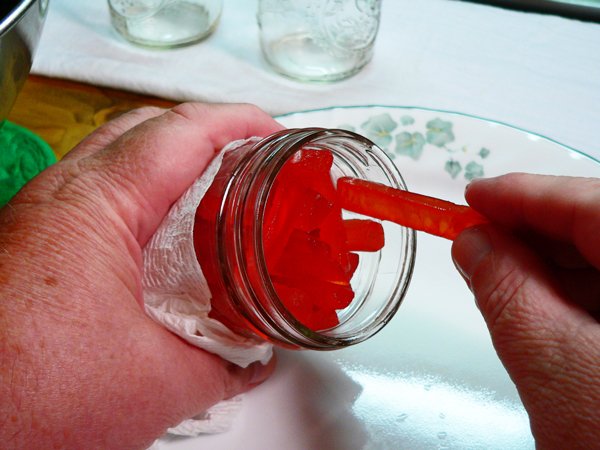
The jars have sterilized for 15 minutes, and I’ve removed a couple of them to start working with. They’re hot, so you’ll need a towel of some sort to help hold them. Tilt the jar over on it’s side, and start layering in the sliced pickles. You’ll want to fill the jars as much as possible, but don’t force them in. If they’re packed too tight, they’ll just break even more when you try to pull them back out to serve them.
Use the bigger whole slices to pack the jars, and fill in with any small pieces that you might have broken during the process.
Once you’re ready to pack jars, you can start heating up the syrup. Place the syrup back on the stove top and bring it to a LOW Boil.
Let the syrup boil for ONE Minute.
You’ll need to work as quickly as possible to try and keep the jars warm as you go. They will cool down, but don’t worry about it. You should be fine. Just have everything ready to proceed once the syrup has been heated.
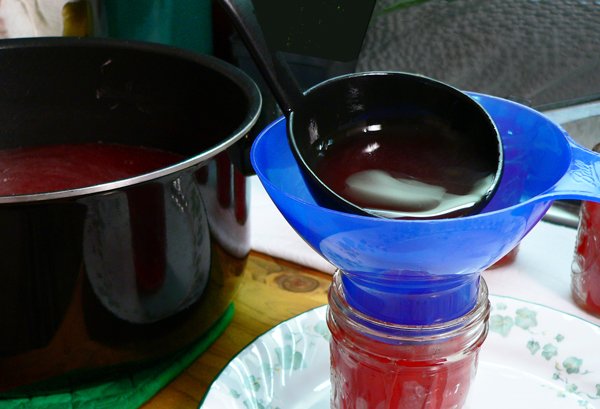
Remove the hot syrup from the stove and place it on the hot pad. Lets fill the jars.
Using the funnel, ladle enough syrup into each jar to fill it to within 1/4 inch of the top rim. Pour slowly so you don’t make a bunch of air bubbles as you go.
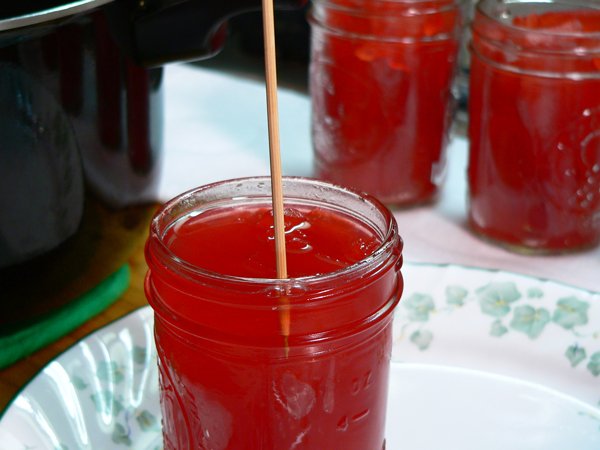
I pretty much always use a wooden skewer to remove any air bubbles that might be trapped in my jars. These jars are pretty well packed, so there isn’t a lot of room to insert a butter knife or something similar. You will have some air bubbles that get trapped, and you will want to remove as many of them as possible. Run the skewer down inside the jar, around the edges and in the center section. You can probably see many air bubbles around the outside of the jar. Work the skewer into those bubbles so they will rise to the top. The more you can get out, the better, but a few will not cause any problems. Work quickly, removing as many as possible.
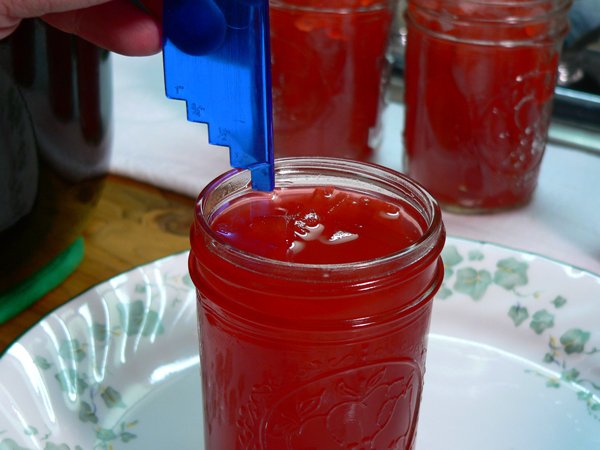
You should use the notched end of the head space tool to make sure you’re leaving only 1/4 inch of head space in each jar. Head Space is the amount of space left between the top of the product inside the jar and the top rim of the jar itself.
The amount of head space needed will vary from one recipe to the next, but follow the guidelines from a trusted recipe and get that head space set accordingly. You can thank me later.

Use a clean damp cloth to wipe around the top edge of the jar. Make sure there isn’t any syrup, or any pickle particles on the top of the jar. Also, wipe around the outside thread area of the jar to remove any syrup that might have dripped down the side.
Food particles on the top of the jar could compromise the seal from the lid and keep the jar from properly sealing when processed.

Use the magnetic wand to remove one of the lids from the pot of warm water. Don’t worry about any excess water being on the top or underside of the lid. Gently shake off most of the excess water, then center the lid on top of the jar.
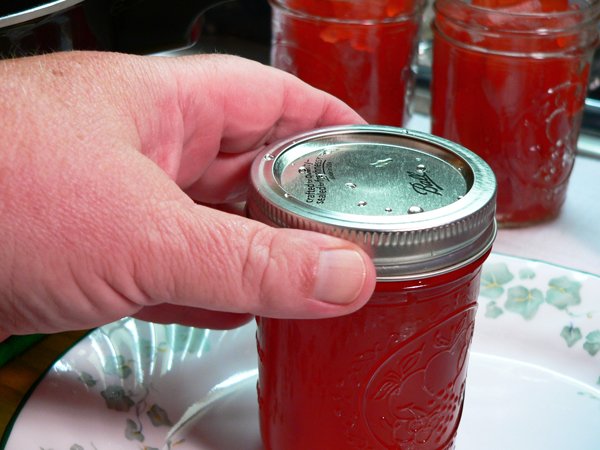
Place one of the jar Bands down over the lid. Make sure it’s going on straight as you snug it down. You only need to “finger tighten” the band. Don’t use all your might to place the band on the jar. Just snug it down finger tight and move on to the next one.
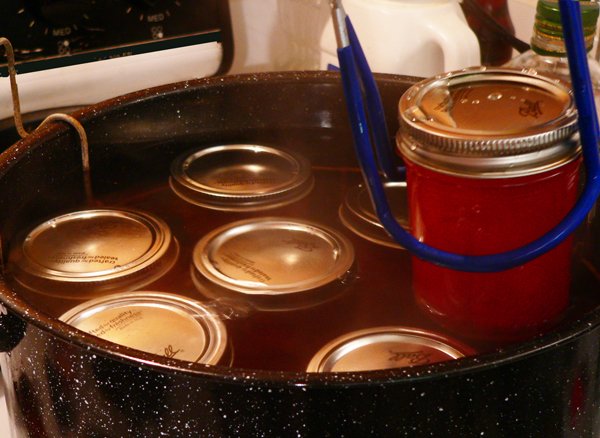
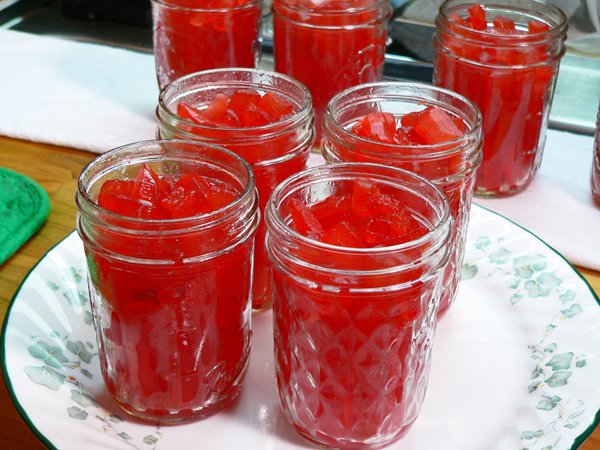
Most canning pots come with a canning “rack.” The rack has hooks built into the handles that hook onto the top of the canning pot while you add the filled jars. Use the jar lifter to place the jars into the rack, making sure they are sitting up straight. It’s not a disaster if they tilt or fall over while you’re trying to get them situated. Just straighten them back up and fill the rack with the jars. This one will hold seven half pint jars at one time.

I use tongs to lift the rack up and lower it into the hot water. Make sure the jars stay standing up straight, and fold the handles down over the top of them.
The jars need to be covered with at least one inch of water to be safe. Add a little more if you can. That’s why I keep that pot of hot water going on the Back Right burner. I can add more hot water as needed without stretching out the processing time.
When the water comes back to a boil, THEN you can start the timer.
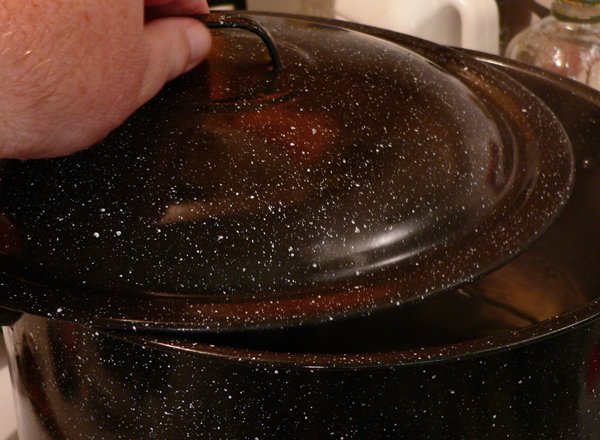
Once the water reaches a good rolling boil, start your timer, and cover the canning pot with its lid.
Water bath processing times will vary depending on what you’re making. Time will also vary based on the Altitude of where you live. For me, these pickles will need to process for 10 minutes. Your time may vary and you should consult the Ball Blue Book of Preserving for a similar pickle recipe to determine the time needed for your area.
When the jars have processed the proper amount of time, use the tongs to raise the handles back up and hook the rack to the top of the canning pot. Let the jars rest here for about 5 minutes before removing them.
You will probably start hearing that lovely “Ping” sound of the jars as they seal. This is the sound all home food preservationist look forward to hearing the most. It’s like a signal that everything has gone right thus far. Try to keep count of the pings if you can, but don’t worry if you don’t hear every one of the jars make the sound. Some may not.
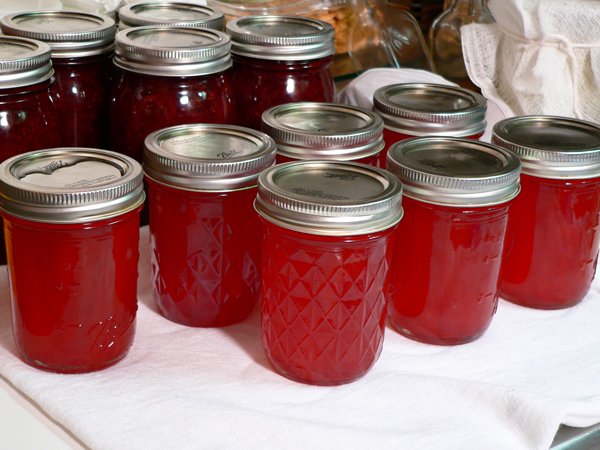
Use the jar lifter to remove the hot jars from the canning pot. Place a folded towel on your counter top in a draft free area. Sit the jars on the towel, leaving about an inch of space between them so they can properly cool.
Jars should sit here, undisturbed, for at least 24 hours. Resist the urge to press on the top of each jar to see if it’s sealed until that 24 hours have passed.
After 24 hours, you may push down on the center of each lid to be sure the jar has sealed. If the center springs back, that jar should be refrigerated and consumed first. If several jars haven’t sealed, you may be able to re-process them to get them to seal. But, you’ll need to use New LIDS if you decide to try again.
Properly sealed jars can be stored in a cool, dark place for up to a year or longer. It’s best to store them without their bands and do not sit anything on top of the jars or stack one jar on top of the other.

Enjoy
Disclaimer: These instructions should not be taken as a complete guide for making and canning pickles. The photos and descriptions present an idea of how to perform the basic process. There are several variables in home food preservation, and a basic knowledge of the process is recommended. Please, always consult reputable sources and tested recipes before canning and preserving anything at home. We highly suggest that you consult your local Cooperative Extension Service for classes and more information.


