Follow our complete, step-by-step, photo illustrated instructions to learn how you can easily make Onion Rings in your kitchen. Printable recipe included.

We’re using Vidalia Onions to make our onion rings, but any good sweet onion will do. These are great as appetizers or a side dish for many of your favorites. And, they’re easier than you think.

I love onion rings almost as much as I love crinkle cut French Fries. I’ll buy them as a side to my hot dogs or barbecue sandwiches whenever they are available. Well, most of the time. Smile.
I don’t like it though, when you bite one and all the onion slides out leaving you holding a ring of fried batter in your hand. Kind of ruins the concept of it all. But, we’ll show you how to keep that from happening if you’ll just keep reading.
Vidalia Onions are in season right now, and I love the slightly sweet taste of Vidalia Onions in my homemade onion rings. Gotta enjoy them while you can, but any variety of sweet onion will give you good results.
I also like to slice mine a bit thicker. Makes them easier to handle and I’m all for anything easy. Smile.
Homemade onion rings are really simple to make. I use a cast iron skillet to make mine, but if you have a mini-fryer that will work too. Use what you have. Just be cautious anytime you’re working with hot oil and be sure to keep any children away from the stove while you’re making them. That oil can get hot, and spits and spatters are bound to happen.
I like to dip mine in ketchup, but I also like Ranch style dressing. What’s your favorite?
Ready to give our recipe a try? Alright then, let’s head on out to the kitchen, and… Let’s Get Cooking!

Onion Rings Recipe – You’ll need these ingredients.
Vidalia Onions are only in season from April to August each year. Their slightly sweet taste makes great onion rings, but any type of sweet onion will work for you.

Since we’re making these at home, we’re working in small batches. I use a large zip-lock type bag for making the seasoning mix.
Begin by placing 3/4ths cup of All-Purpose Flour in the bag.

Add 1/3 cup of Cornstarch.

Add 1 Tablespoon of Baking Powder.

Add 1 teaspoon of Salt.

Add 1/2 teaspoon of Black Pepper.
Close the bag securely and shake it well to combine all the dry ingredients.
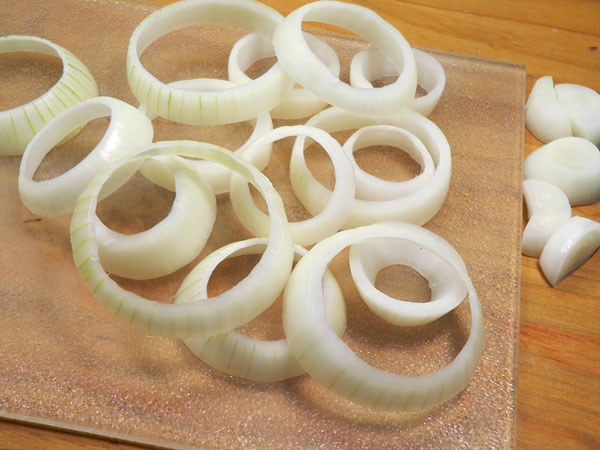
Slice your onion. I like to make thick slices, but it’s your choice. Separate the rings.

Place the onion rings in the bag with the flour. Close the bag securely once again, and toss and flip the bag to fully coat all the onion ring slices.

Spread the coated onion ring slices on a plate or wire rack and let them rest for 15 minutes.
This will help the coating stay on the onion rings when you bite them. I’m sure you’ve had some where you bite the onion ring and the onion pulls right out, leaving the breading behind. That shouldn’t happen if you allow the onion slices to rest for 15 minutes after you coat them. Patience will make it all worth it. Smile.

Pour the remaining flour from the bag into a medium sized mixing bowl.

Add the egg.

Add the 3/4 cup of Buttermilk.

Mix all the ingredients together to make the batter. If it’s too thick, add a bit more buttermilk. If it’s too thin, add a bit more flour. You want something very similar to pancake batter.

Place an onion ring in the batter.

Drain off any excess.

Place the onion rings in the hot oil.
I’m frying these in my cast iron skillet. I have about an inch of oil in the skillet and I’ve heated it up to about 350F degrees for frying. Just be careful and everything should be okay. Smile

When you see the bottom edge starting to turn brown, carefully flip the slices over.
I found a wooden skewer worked really well for this.

When they are nicely browned on both sides, remove the onion rings from the oil and place them on a wire rack to cool a bit. Try to avoid placing them directly on paper towels as this will cause them to be soggy. I did have some towels under my wire rack to catch any oil that drips off.

Enjoy!
This was one complete Vidalia Onion. I like to dip them in ketchup, but use whatever you like best. They fry up quickly, so you can keep them going once you get your system of making them down pat.


