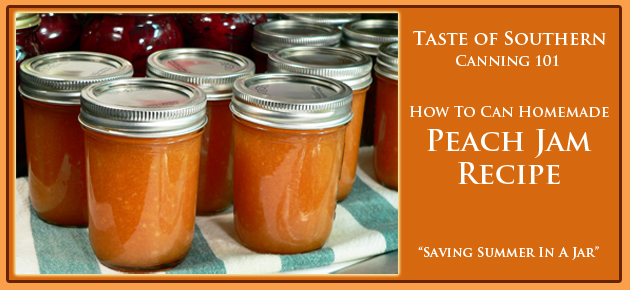
Enjoy the taste of fresh peaches all year long with our delicious Peach Jam recipe. Our step-by-step photo instructions will show you just how easy it is to “save summer in a jar” with local peaches fresh from the orchard. Spread this jam on a hot biscuit or some buttered toast and just step back into summer with every bite. Canning jam is easier than you think, and this is a simple and easy recipe perfect for anyone to try.
Peach Jam Recipe:
Peach season has pretty much ended here in the South for this year. But, we can still enjoy that delicious fresh peach taste all through the coming year with our peach preserves and peach jam that we’ve put up for the winter months ahead. I don’t usually make a lot of each as I have a variety of other jams and jellies to enjoy as well, but I do like to have some peach jam in the pantry each year.
I have to travel about 35 miles to purchase peaches. We don’t have any local peach orchards within our county, but they are available from some neighboring counties. The Cand0r-West End area of the heart of North Carolina is well known for producing some great peaches. They are also available at many local roadside stands and at the North Carolina State Farmers Market up in Raleigh during peak peach season.
I love spooning peach jam into a hot buttermilk biscuit for breakfast. The sweet taste goes well with a piece of salty country ham, eggs cooked over medium, and a plate of grits or hash browns. My oh My….it makes me hungry to just think about it. It’s also good with some peanut butter for a bit of a different taste for those PB&J sandwiches. Of course, what doesn’t taste good with homemade jam right?
This particular batch of jam is pectin free. Pectin is used in most jams and jellies to help them “set” or firm up. Some folks seem to think adding powdered or liquid pectin gives the jam a little different taste. With this recipe, you’ll retain the full flavor of your fresh peaches without adding the pectin. It will just need to cook a little longer to get it to firm up. You’ll need to watch it closely to make sure it doesn’t burn as that would be bad. The ingredients are simple, and it’s a quick and easy recipe for saving summer flavors in a jar. Ready to give it a try? Let’s Get Cooking!
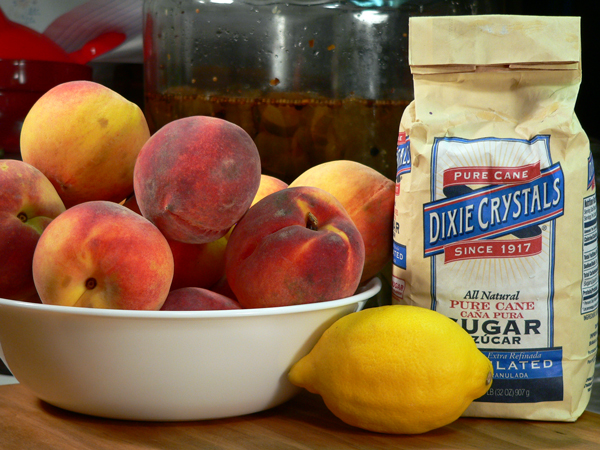
Homemade Peach Jam Recipe: You’ll need these ingredients. Simple huh?
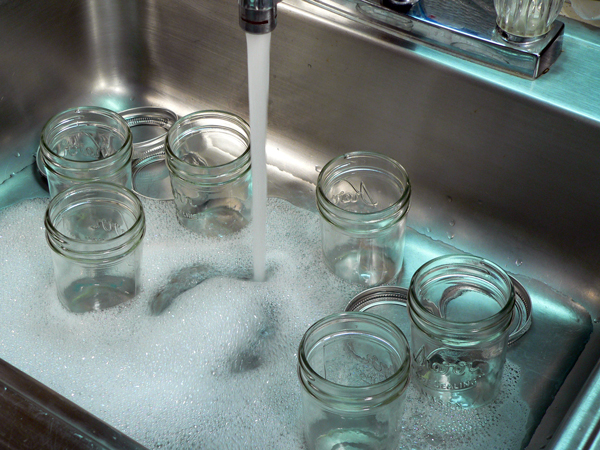
Let’s begin by getting everything ready and setup to process our jam. Gather your jars and the bands for the tops of the jars. Place them in the sink with some hot, soapy water, and give them a good scrubbing. Jars and bands are reusable but you’ll always need new lids for anything you can. Even if you’re using new jars, check them for chips and cracks, and make sure they are in good condition. Wash them good inside and out.
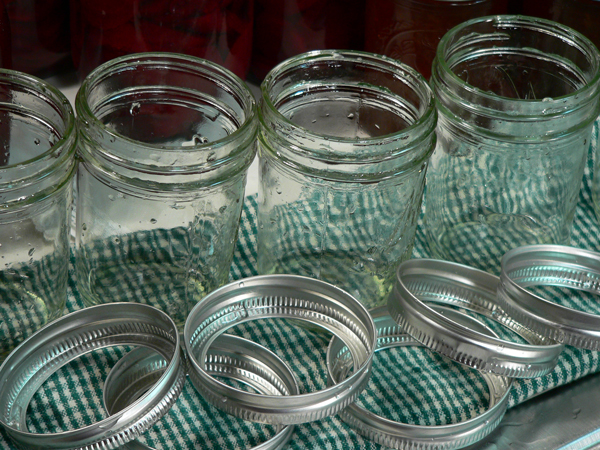
Rinse the jars and bands and set them aside for the moment.

You’ll also need to setup your stove. This is my typical setup as seen in most all of my “Canning 101” recipes. On the back left is the smaller pot I use to warm up my lids and bands. More on that later. On the back right is a somewhat larger pot that I keep filled with just water. I like to keep extra hot water in that pot so I can add it to the canning pot as needed. On the front left is the pot that I normally use to cook my jams and jellies in. Then, that big pot on the right is the canner itself. My canner is enamelware, but any large stockpot will pretty much work. I also have a rack to hold the jars that will fit inside.
I fill the canner pot about 3/4ths full of fresh water and will use this to sterilize my jars as we begin.

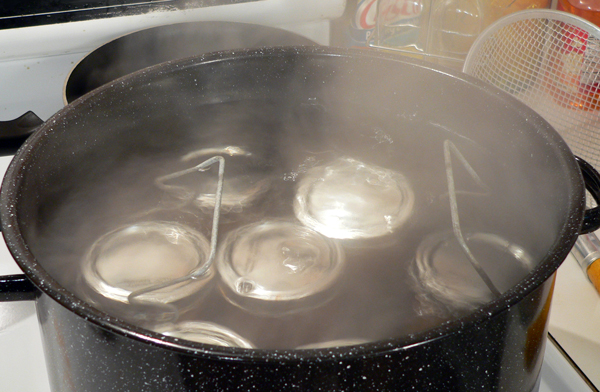
These are the NEW lids. I place them with the rubber ring side up in a pot of warm water. This is the pot that’s on my back left burner. I turn the heat down to the lowest or next to lowest setting. The lids just need to warm up a bit to soften that red rubber ring that’s on them. You never boil the lids as it could damage the rubber ring and cause the jars not to seal.
There is a new product out that features reusable lids. They cost a bit more upfront and I guess if you plan to continue canning for years to come, they could be a wise investment. I’ve never used them myself. As mentioned, you can reuse the jars and the bands but with our projects, you will ALWAYS need NEW lids for canning.

I place the bands right on top of the lids inside the same pot. We’ll let them gently warm up as well.
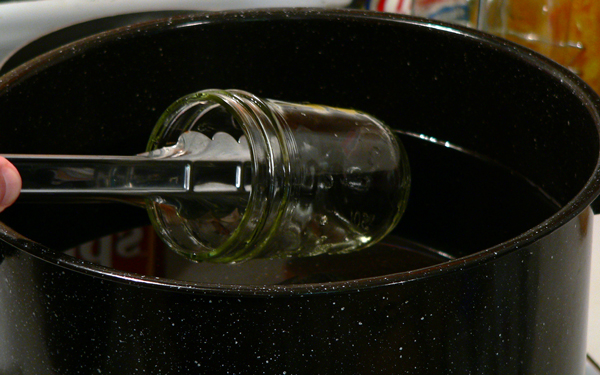
Next, I place my washed and rinsed jars inside the canner pot. This pot will hold seven jars at one time inside the rack. I’ve scrubbed the canner already and filled it with cold water. I just lay my jars on their side in the cold water and will sometimes have the smaller jars laying on top of each other. Many sites suggest that you place a cloth towel inside for the jars to rest on so they aren’t touching the bottom of the pot. The intense heat at the bottom could cause them to break once the canner starts to heat up. So far, I’ve not had any problems with any breakage and I don’t use the towel method. There’s always a first time though. Since I start the jars in cold water and slowly heat them up to boiling, I think that’s the reason I’ve not had any problems thus far.
With all the jars in the canner, turn the heat up to almost High and let the jars start to come to a boil. On my electric range, this takes a little time to reach the boiling point. Once the jars reach a low boil, they need to continue to boil for 15 minutes to sterilize them. Some of the newer dishwashers have a cycle for just this purpose, if you have that, go ahead and use it.
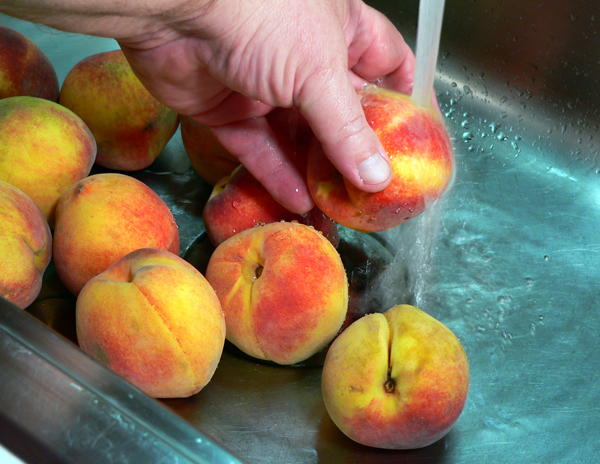
Lightly rinse the peaches under cold running water to remove any dirt of fuzz.
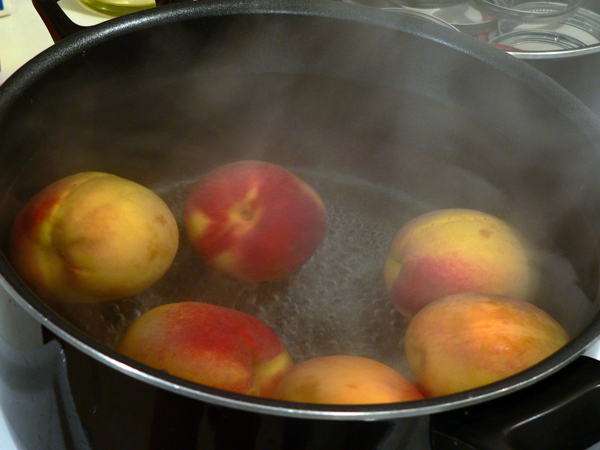
Heat up a pot of water in a large sauce pot. Once it comes to a low rolling boil, drop in the peaches. Let them stay in this hot water for about 2 minutes.
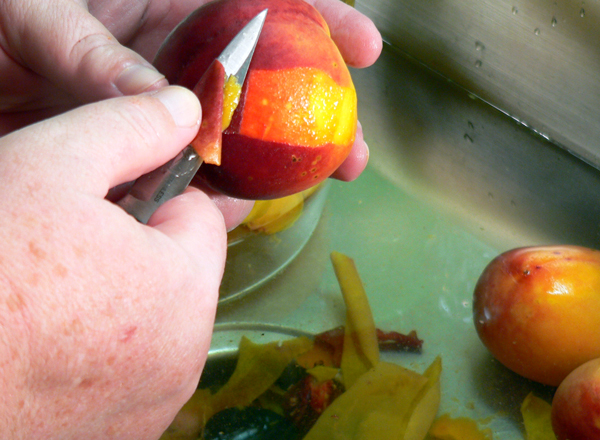
After about two minutes, remove the peaches from the hot water and drop them into some ice cold water in your sink. Heating the peaches for a couple of minutes makes it a lot easier to remove the skins. Depending on the peaches, the skins may just pretty much slip off right in your hand. Or, take a paring knife and grab a piece of the skin and easily peel it away. Remove the skin from all of the peaches. Just drop them back in the water until you have them all peeled.
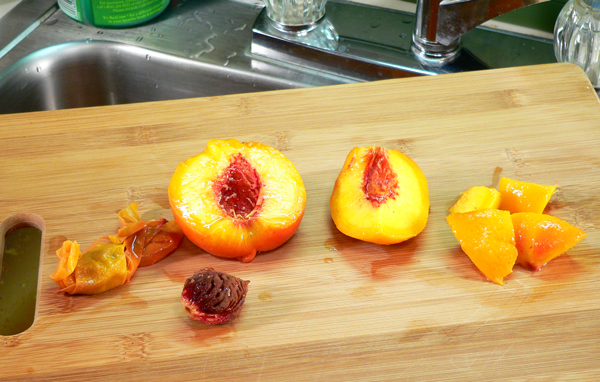
You’ll want to remove the skin from each peach. Then, slice the peach in half. You’ll see a wrinkle or indentation in the peach, just slip your knife into that section and run it all the way around the peach. Pull the peach apart and remove the pit or as some folks call it the “stone.” Then, slice the peach into quarters and then cut each slice into one or two chunks.
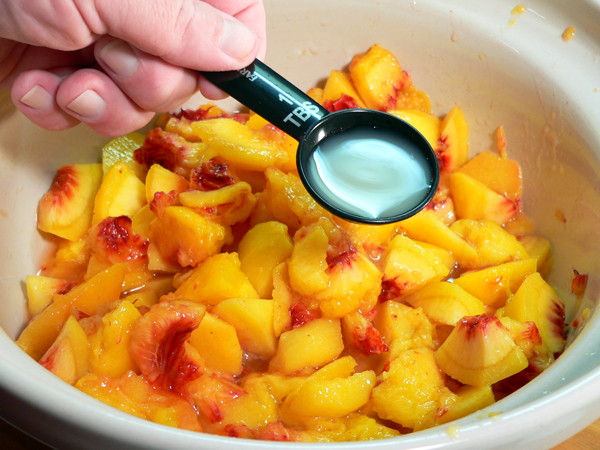
Place the cut peaches into a bowl and add the lemon juice. This will help keep them from turning brown so quickly.
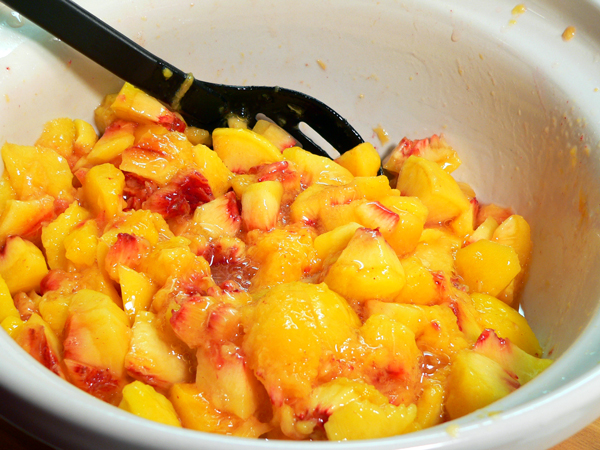
Take a spoon and gently toss the peaches around to coat them all with the lemon juice.
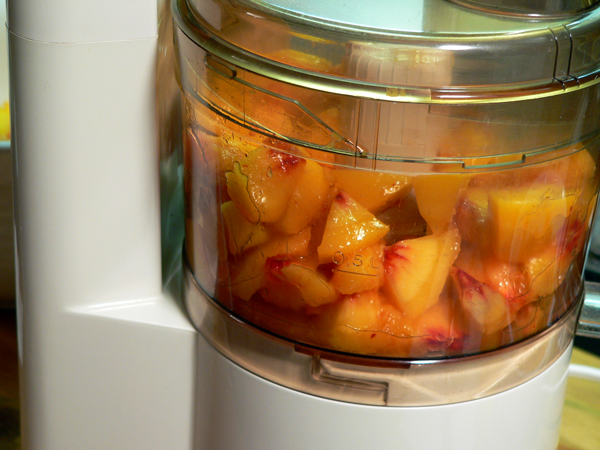
Place the peach pieces in a food processor if you have one. If not, you could just mash them up a bit.
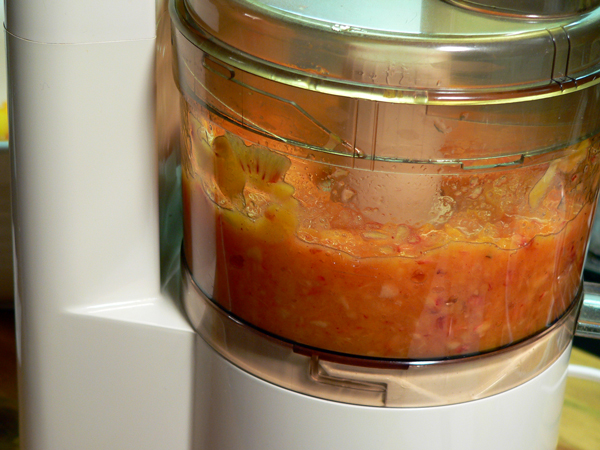
Use the pulse mode and pulse the peaches around a bit. You want to leave some small bits of peach and not totally liquefy it.

Place a large sauce pot on your stove and turn the heat to the Medium heat setting. Once it’s heated up a bit, add the water.

Add in the sugar and start stirring.
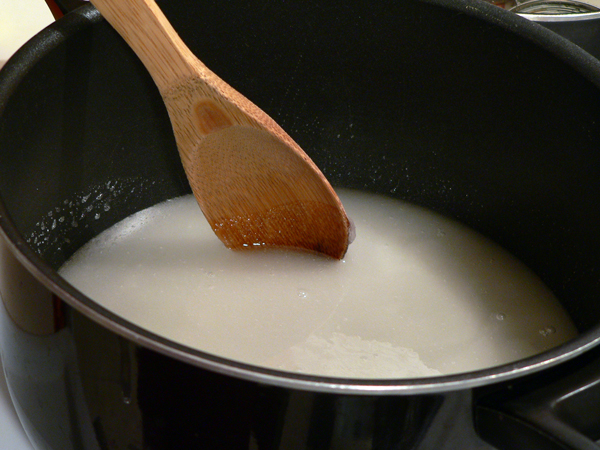
Continue to stir the water and sugar mixture until the sugar has pretty much dissolved.
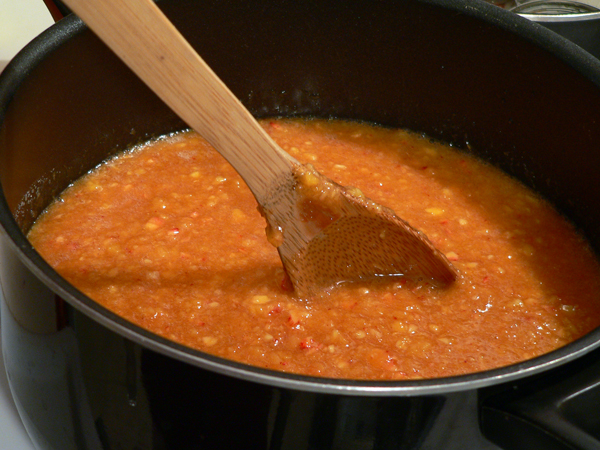
Add the chopped peaches to the pot and keep stirring. Since we aren’t going to add any pectin, the mixture will have to cook down until it thickens. It’s really easy to walk away and let it burn. I know you don’t want that to happen. Just let it continue to cook and keep stirring until it starts to thicken.

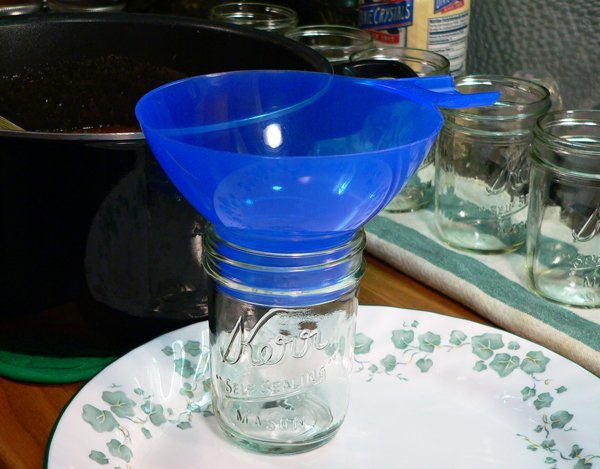
While you’re stirring the peaches, it’s a good time to setup your work area. Gather all your tools and be ready to start placing the jam in jars while it’s still hot. The blue items above can be purchased as a kit online or at a large store like Walmart or something similar. The items are not necessary but they make the process a lot easier in the long run. I’ve got a funnel up above, a jar lifter to the right and on the plate is the magnetic wand for lifting the lids and bands out of the warm water. The tool on the right is for removing air bubbles and also has the notches that are measured increments for making sure your jars of jam have the proper amount of headspace. I like to sit my jars in a plate as I fill them. I can get a bit messy with it and it just makes cleaning the sticky stuff up a lot easier for me. You can thank me later.
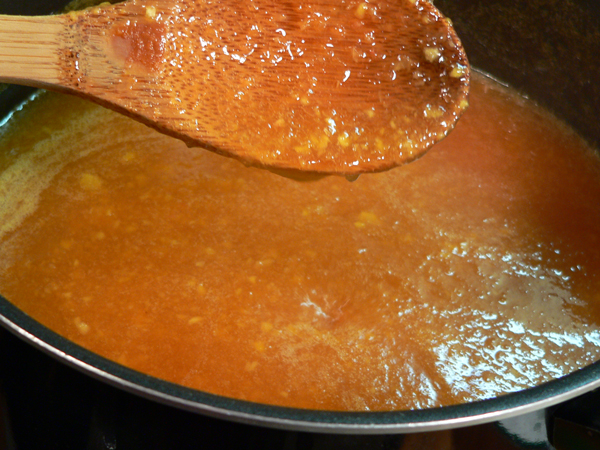
There’s a lot that could be said at this point about making the jam. You don’t want to scorch or burn it but, it does need to thicken up a good bit. You can see this happen by lifting the spoon about 12 inches up out of the pot and letting the syrup drip off the spoon. Start doing this when it thickens up a bit and continue to do it to watch the progress it’s making. Soon, you’ll start to notice that it’s not running off the spoon as fast as when you first started. When two drops of the jam sheet together as you drip it from the spoon, it’s ready to jar up. If you scoop up a spoonful, it should also mound up a bit on your spoon.
Another way to test is by placing a saucer in your freezer when you start to cook the jam. Pull this cold saucer out and drop a teaspoon or so onto the cold plate. Tilt it sideways a bit and watch the mixture. If it runs easily, it needs to cook some more. If it runs slowly, the jam is ready. You can also pull your finger through the jam on the saucer to see if it runs back together quickly. You’ll want it to leave that open space separation that you just made. Once that happens, the jam is ready to be placed in jars. If you have any foam on the jam just take a spoon and skim it off and discard it.
Now comes the fun part….filling the jars. Remove the peach jam from the stove, skim off any foam and discard it…if you have any. Pull a plate up along side the sauce pot and place one of the warm jars from the canner in the plate. Remember, the jars need to have boiled for 15 minutes to sterilize them. Mine usually go a bit longer than that during the preparing the peach process but that’s OK. Take the jam off the stove and use some tongs or the jar lifter to remove the jars from the boiling water in the canner. It’s best to sit them on a towel when you take them out. The jars are hot and sitting a hot jar on a cold counter top could cause the jar to break. Place the funnel in the jar.
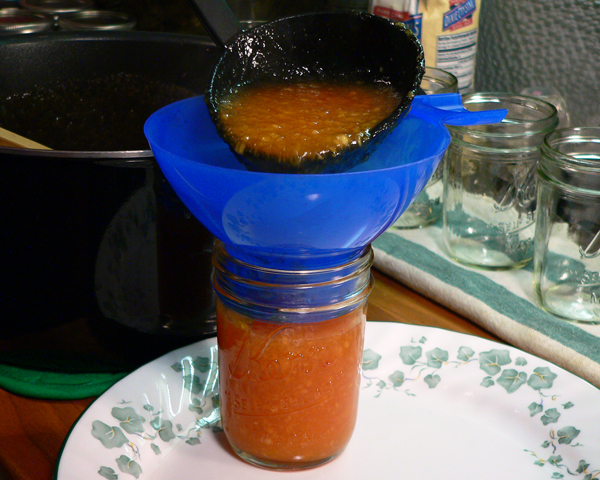
Use a ladle and spoon the jam into the jars. Fill the jar to about 1/4 of an inch from the top and remove the funnel. I normally just take the funnel out of this jar and place it right into the next jar to be filled.
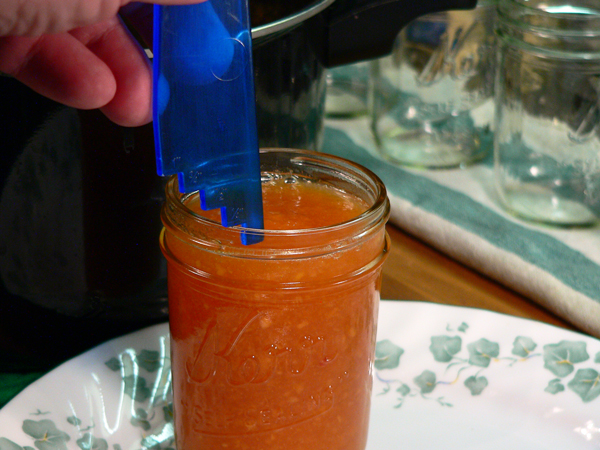
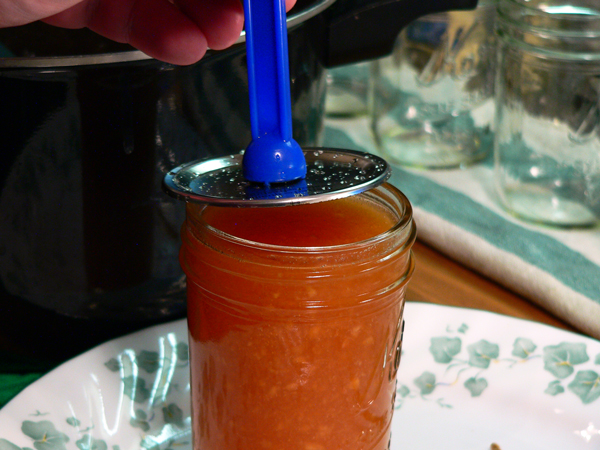
Here, I’m using the notched end of my canning tool to check for the proper amount of headspace needed. Headspace, is the amount of space left remaining in the jar after you’ve added the food product. This amount of space will vary in canning, depending on what is being canned. Always consult a tried and trusted recipe for the proper amount of headspace to leave. This is very important to me as I can various items to be placed in our local and state fair competitions. They check it carefully so I have to check it carefully. Still, it’s a major factor in getting a proper seal on your jars once they go into the canner for processing.
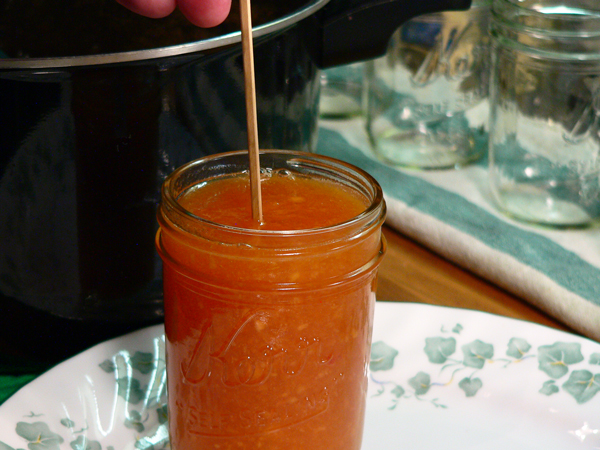
I could use the other end of the notched tool to remove any air bubbles but, I’ve become accustomed to using these wooden skewers. A butter knife will also do a good job. Slip the skewer..or knife…into the jar and gently run it through the middle and around the sides of the jar. The object is to remove any air bubbles that might be inside the jar. You can watch them most of the time as they “climb” their way up along side of the knife and skewer to the top…where they burst. Get out as many as you can.
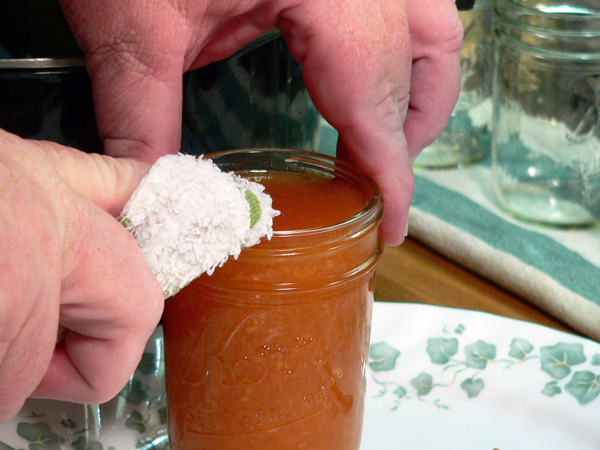
Grab a clean damp cloth and carefully wipe off the thread area of the outside top of each jar. Then, make sure you wipe carefully across the top of each jar. You need to remove any food particles that might have dripped onto the jar as they could prevent a proper seal when the lid comes into contact with the jar surface. Caution though…the jars are hot to the touch.
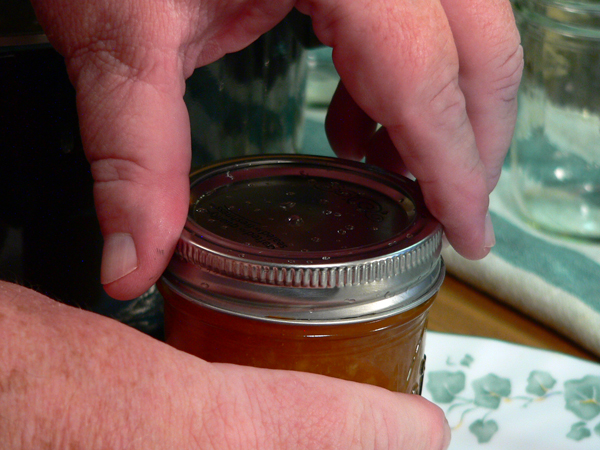
Use the magnetic wand and lift one of the lids out of it’s warm water. Try not to touch the bottom part of the lid with the red rubber seal. Don’t worry about any water left on it, that’s not a problem. Carefully center the lid onto the top of the cleaned jar rim. Hold the top with your finger and pull the magnetic wand away.
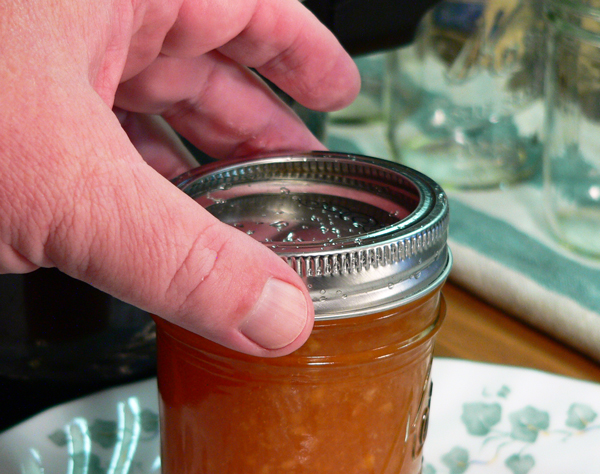
Use the magnetic wand to lift one of the jar bands out of it’s warm water. Give it a little shake to remove excess water then, carefully center it over the top of the lid. Screw it down lightly, making sure it’s going on straight and even.
Finger tight. All the canning recipes say to tighten the band down just finger tight. That means, just snug it down to the top without using any extra force. Don’t give it all you’ve got to get it tight. Just a gentle snug down and it’s good to go.
Repeat this process until all the jars are filled. As I fill one jar, I sit it on another towel until I get them all filled.

When all the jars have been filled, use the jar lifter to lift them and place them in the rack inside the canner. The canners come with a metal rack that fits inside. It’s made with a hook in it’s handles that you might be able to pick out in the picture above. You place the rack in the canner by hooking the handles over the edge of the canner first. Then, you fill the rack with the jars, making sure they are sitting up straight as you go. The rack is divided to give space between each jar. You need them separated so water can flow evenly around them.
When all the jars are in the rack, you lift both handles up and off the rim of the canner. Then, you lower the whole rack down into the canner until the jars are submerged. I use tongs to carefully lower the rack as that steam is hot. Be careful. This is also where that extra pot of hot water boiling on the back can come in handy. The jars need to be under 1 to 2 inches of water…again depending on what you’re canning…so be sure to check the recipe out. If you don’t have enough water in the canner, once the jars are down inside, use that hot water from the other pot to fill the canner as needed.
With the jars lowered into the canner and, with the proper amount of water over them, watch for the water to come back to a rolling boil. When it’s boiling, place the lid on the canner and start timing this water bath process.

The processing times will vary from one recipe to the next and ALSO by the ALTITUDE of where you live. The higher the altitude, the longer the processing time required. Again, the recipe usually includes this information. For me, I’ll need 10 minutes to process these jars of jam. Your’s might be a little longer based on where you live.

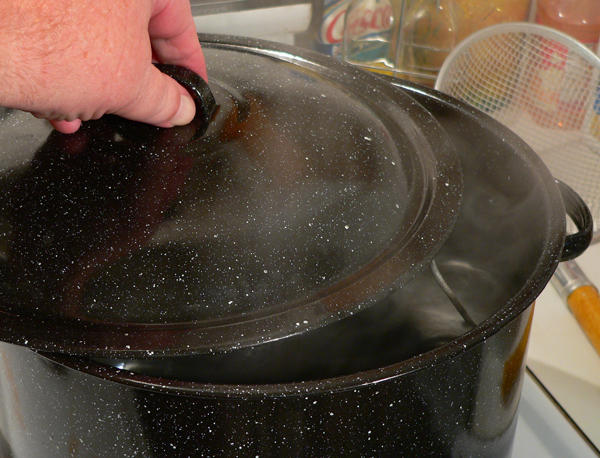
Once the jars have gone through the water bath process for the proper amount of time, turn the heat off and carefully remove the lid. Remember to lift the lid AWAY from you as there will be hot steam underneath and it hurts….trust me on that one. I still forget that part sometimes. Seriously though, the steam can burn you pretty bad. Keep the little one’s out of the way during this process.
Now, use your tongs and grab both handles once again. Carefully lift the rack back up just enough to hook the handles back over the top rim of the canner. The jars need to REST here for 5 minutes. You may even start hearing some of them “ping” at this point. That’s a good thing.

After five minutes, use the jar lifter and remove the jars one by one. Sit them on your counter top in a draft free location. Also, make sure you sit them on a folded towel. The jars are super hot and placing them on a cold counter could cause them to burst. The jars need to be away from any air vents so they can have time to rest and properly seal.
RESIST the temptation to press down on the center of the lid for at least 24 hours. The lids have a slight “bubble” in the middle. As the jars go through this water bath process, the contents inside will heat up. When the jars are removed from the canner, the air inside of the jar gets sucked out and causes that bubble in the lid to pull down. That’s the familiar ping that is so sweet to hear. That’s the sound of a properly sealed jar.
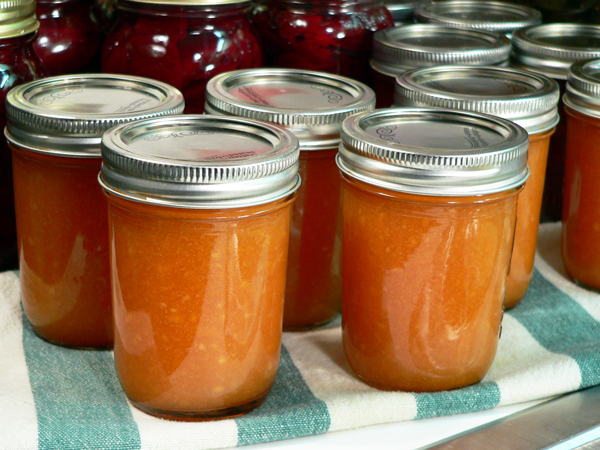
Just let them set in this spot for 24 hours to cool. After 24 hours, THEN you can press the tops of the jars to make sure they sealed. If the center bubble spot bounces back up…the jar didn’t seal. The jam inside is still good and you should just place that jar in the refrigerator and eat it first. In the event several jars didn’t seal, the jam can be reheated and processed again. Of course, you will need NEW lids once again to do this but, it could be a way to save your jam instead of throwing it away. You’ll need a little more instruction on that process however that we’re not including here.
On the other hand, assuming you’ve followed all the directions and done everything properly, the center of the lid will be pulled down and sealed tightly. At this point, I remove the bands from my jars and place them away for safe keeping. The jars need to be placed in a cool dark place where they can be safely kept for a year or even longer. It’s best to not sit another jar on top of them. Even though the jar may be sealed at the present, sometimes, things happen that cause the lid to loosen and pop open. If that should happen, you would see it and know NOT to use that jar. Something has caused a problem and the food has spoiled and caused a build up of gasses that has popped the lid off. Hopefully that never happens but you need to know about watching for such things.
So….wasn’t that pretty easy? It gets easier each time you go through the process. Well, at least it’s not as trying to your nerves after the first time or two. The whole process is pretty much the same each time you make jams or jellies. You’ll just build your confidence more as you continue to work with various fruits and recipes. Then, when winter hits with snow on the ground, pop open a jar of your home made Peach Jam and enjoy a little bit of summer all over again.
Enjoy!!!