
Follow this step-by-step, photo illustrated recipe to make our Deviled Eggs. A true Southern favorite for family get together’s, church meeting – dinner on the grounds, or any time a quick and easy appetizer is needed. Deviled Eggs are so versatile. Make our basic recipe, or spice it up a bit by adding some of your favorite things like bacon, olives, peppers and so much more. A printable recipe is always included.

Deviled Eggs Recipe
Deviled Eggs: Its a strange name for one of the more popular dishes, served most any time church folks gather at their place of worship, to fellowship together with a meal. Even with the name, you’ll be hard pressed not to find it on the table anytime a church social is held. Most of the time it’ll even be sitting pretty in a special dish made for transporting and showing it off in all it’s “glory.” How many other dishes do you know of that have their own special plate?
The name goes back to around the 18th century as a way to describe foods that were spicy and included eggs that were prepared with mustard and/or, pepper. And, even though we claim them as our own here in the south, Wikipedia states the dish may go back as far as ancient Rome. Who knew?
I think we may claim the more simple version of the eggs though. That’s what this recipe is all about… keeping it simple. They are extremely versatile though in how they are often made. You just didn’t find any Deviled Eggs that contained “caviar or salmon,” at any of the dinner on the grounds church events that I ever attended. We just always enjoyed them straight and simple.
Like their cakes, most Southern cooks take great pride in how well they made Deviled Eggs. You wouldn’t think there could be much variance in them considering the few ingredients, but gaining bragging rights for making great Deviled Eggs is a long sought after reputation builder. It’s all in how much of this or that ingredient you add that can make a difference.
For me, they have to be made with Duke’s Mayonnaise to even fall into consideration. Enough said!
If you’ve never made them, they’re very simple to do. The biggest problem most folks have is in how to peel the eggs and keep them whole. You can find 101 different ways on how to hard boil eggs and peel them. I’ll just show you the way mama did hers and let you explore all the other ways on your own later. Create our simple and basic recipe below first. After that, you can expand your horizons and try out all kinds of other ingredients to create your very own special rendition of Deviled Eggs. Ready to give it a go? Then… Let’s Get Cooking!

Deviled Eggs Recipe: You’ll need these ingredients.
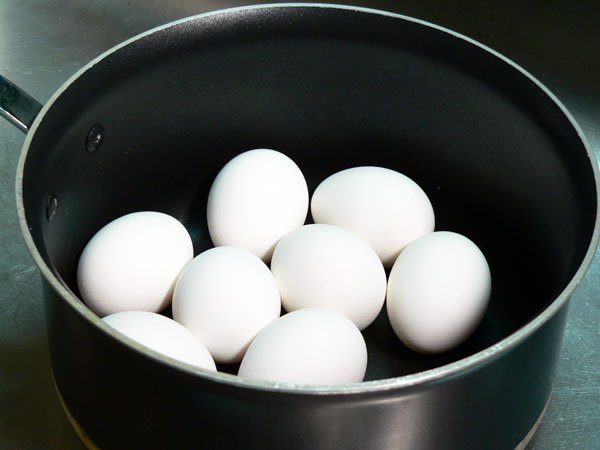
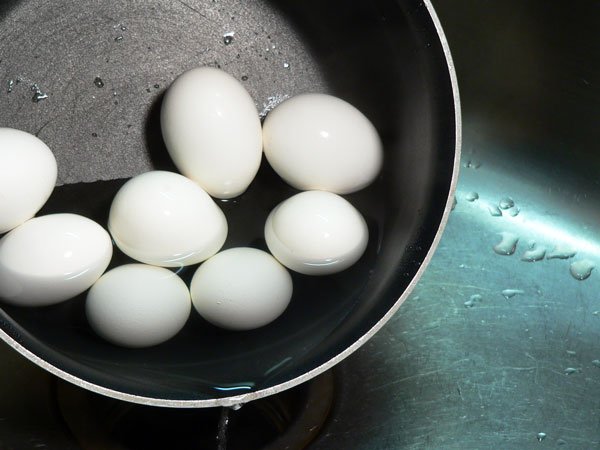
Place the eggs in a deep sauce pot and let them come up to room temperature before proceeding. This takes about 30 minutes or so to just let them rest and then you can proceed. It’s also best to use eggs that are about 5-7 days old when making Deviled Eggs. Really fresh eggs tend to be a little more difficult to peel.
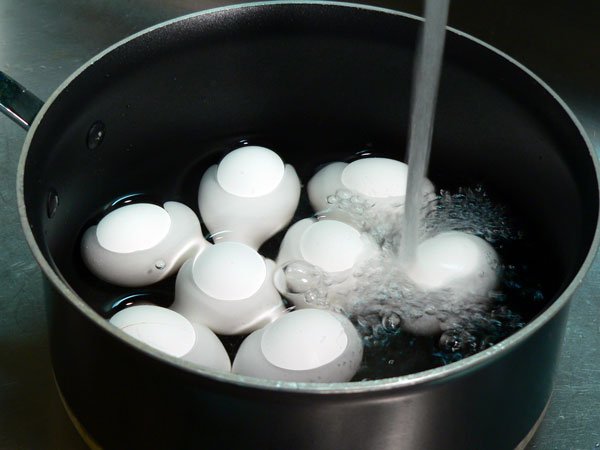
Fill the pot with cold water, enough to cover the eggs about one inch.
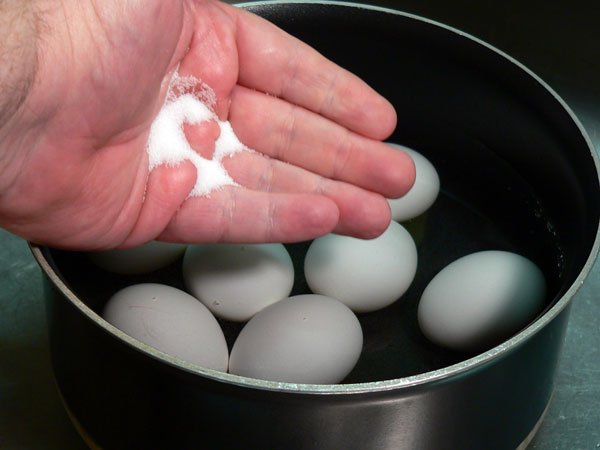
Add about one teaspoon of salt to the water. Supposedly, this will help keep the eggs from cracking open as they boil. Mama used salt but it seems a lot of other folks like to use baking soda instead… or even a little vinegar.
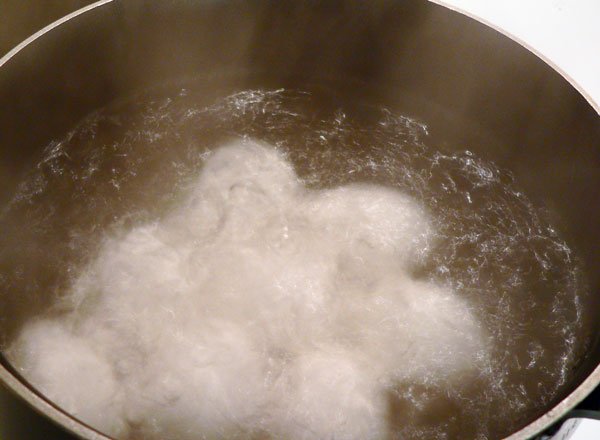
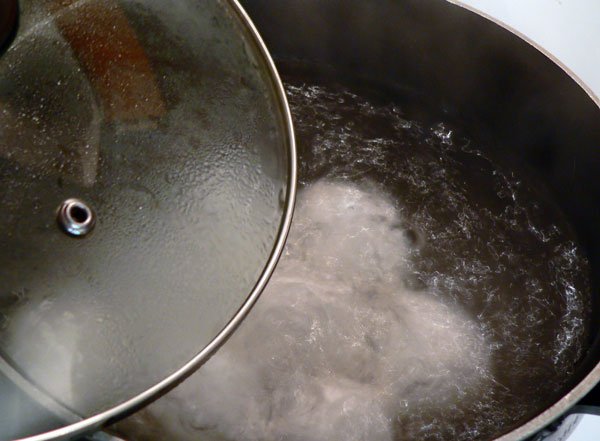
Place the pot on a cold burner. Turn the heat on to Medium-High and let the water come to a rolling boil. Once the water reaches the boiling point, set a timer and let the eggs boil for TWO MINUTES ONLY.
Please follow the cooking and rest times carefully. You want the eggs to be hard boiled but not over cooked. Over cooking eggs causes the yolks to turn dark green in color or, it could leave a green ring around the area of the white where the yolk was resting.
The process is simple. You boil the eggs for two minutes. Then, you cover the pot and remove it from heat. The eggs will continue to cook in the hot water for 15 minutes and then you drain the hot water off and plunge them into cold water. The steps for doing this are below.
After two minutes, cover the pot and REMOVE it from the heat. Do not let it sit on the hot burner. Take it off and set it on a cold burner or a trivet to let the eggs continue to cook as the water cools down for 15 MINUTES.

While the eggs are cooling down, I hope you’ll subscribe to our Newsletter for weekly updates about Taste of Southern. You’ll find a signup box on the top right hand side of this page or, at the bottom of this page. Now, back to our recipe…
After 15 MINUTES, drain off the hot water.
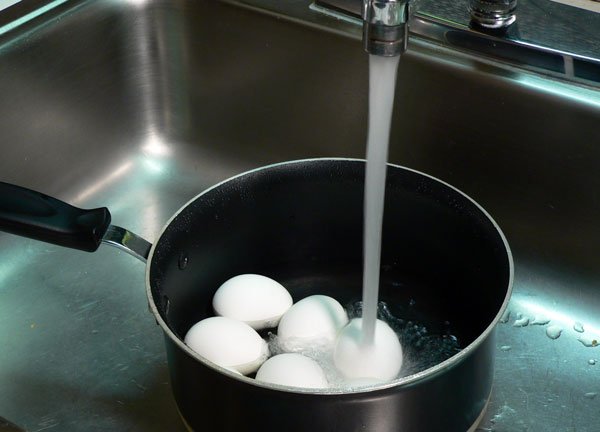
Run some cold water into the pot and cover the eggs again. Some folks like to add ice cubes to the water so the eggs will cool quickly. I find that just draining off the water and filling the pot again with cold water comes pretty close to doing the same thing.
Years back, folks didn’t have the luxury of ice makers in their home refrigerators. Cold water, as it comes straight from the faucet was used and, you just repeated the process a time or two to quickly cool the eggs down. You can just let them sit in the water for a few minutes until they get cool enough to handle without burning your fingers.
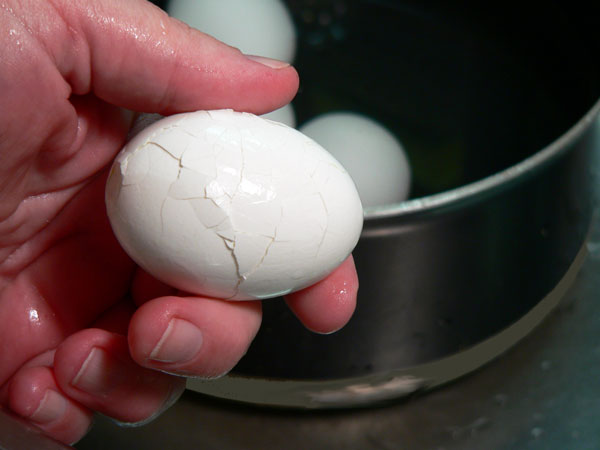
When the eggs are cooled enough to handle, take one and, tap the big round end on your counter top or sink. Place the egg under your hand and gently roll it to crack the shell all over.
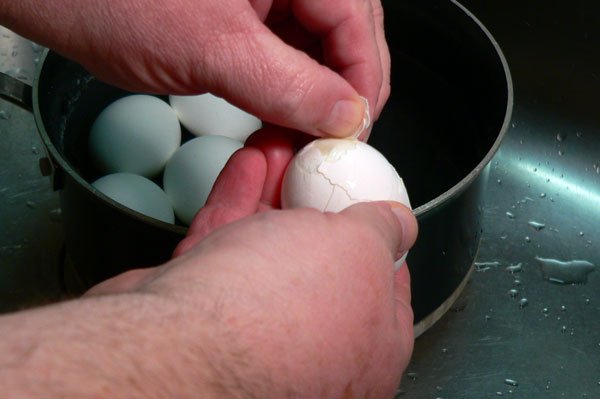
Start at the big end of the egg and gently pull away the shell. Just under the shell is a very thin membrane that you want to get under as it will make peeling the egg fairly easy. The big end of the egg has a small air pocket and you can best get under this membrane by starting in this area. Once you’re under it, the shell will normally pull right away. If you don’t get under it, you’ll know it, and will struggle to remove the shell. Fresher eggs are harder to peel because of this membrane which is why we suggest you use eggs that are about 5-7 days old.
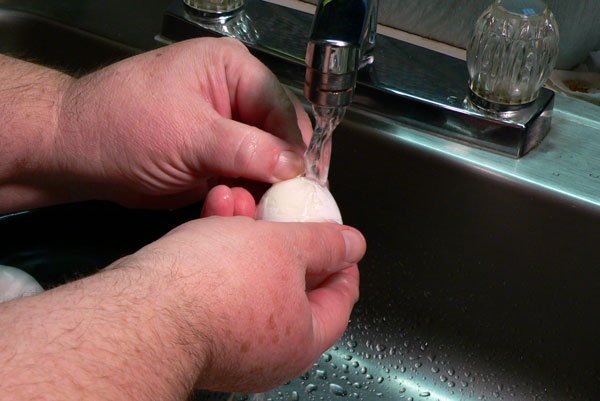
Sometimes, it helps to just try and peel them under cool running water. If you’re having problems, try this. Most of the time though, I’ll just dip them back into the pot of water to get them wet again. I find that works pretty good.
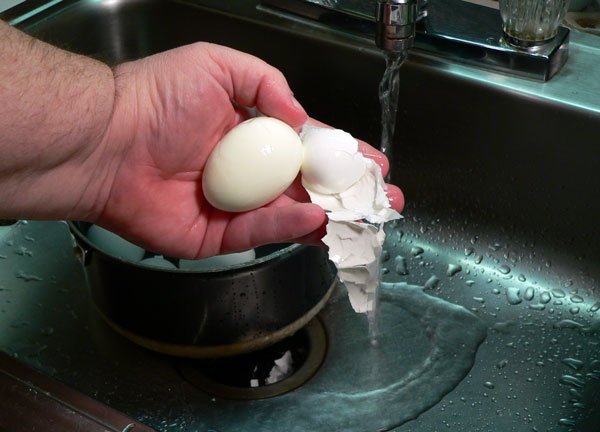
Once you’ve slipped the shell off the egg, rinse the cooked egg under cool running water and set it aside.

Repeat the process until all the eggs are peeled. More than likely, you’ll have one or two that just don’t want to play right. I always boil one or two more than I need just to be safe. Besides, you’re going to sample them when you finish and you don’t want an empty spot on that egg plate now do you? Having an extra one also insures you have plenty of “filling” for your finished eggs.

Take a sharp knife and slice each egg in half lengthwise. If the yolk sticks to your blade, wipe it with a damp paper towel after each cut to keep them all looking good.
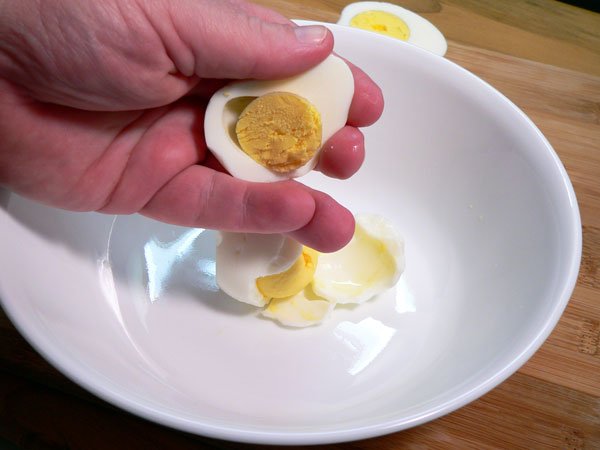
Gently squeeze the backside of each egg half and pop the yolk out. If they don’t pop right out, you can also take a spoon and gently remove the yolk from the white. Use caution so you don’t tear the egg white apart. If one does split, you can just add it into the yolks and mix it in with the rest of the yolk mixture in the steps below.

Repeat the process until you have all the yolks in the bowl.
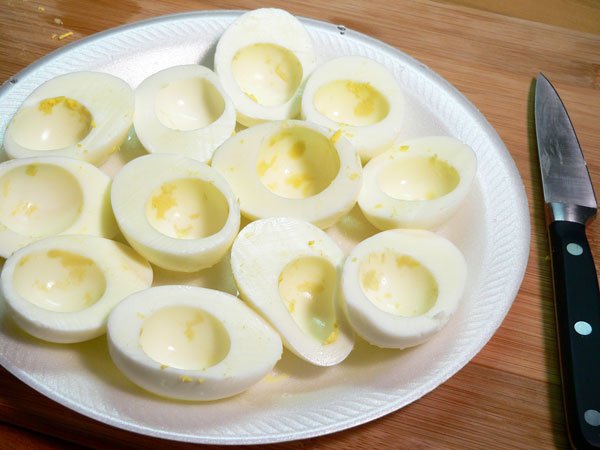
Place all the egg whites on a large plate and set them aside.
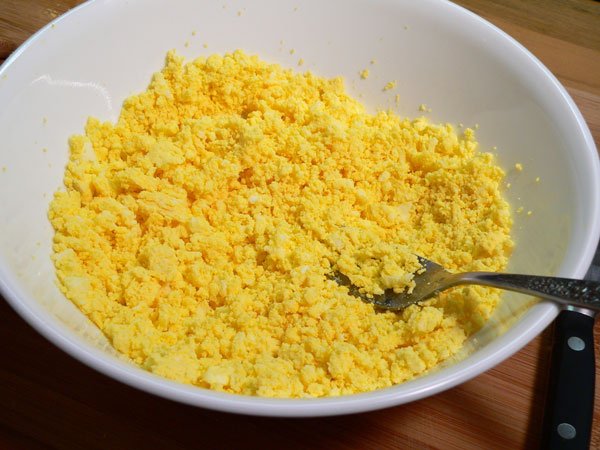
Take the back of a fork and mash up all of the egg yolks.
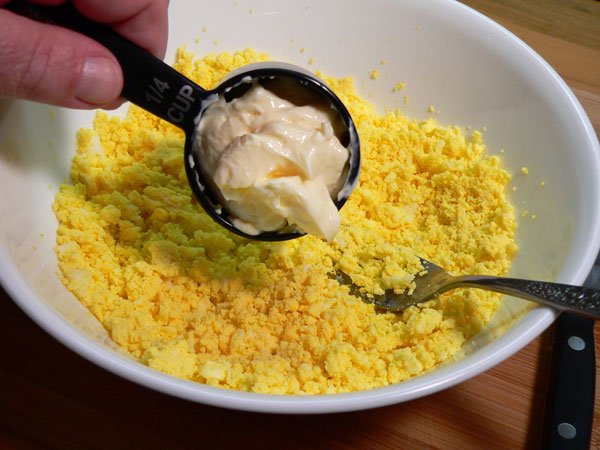
Now, add the Mayonnaise. (I just hope you’re adding Duke’s Mayonnaise.) Smile
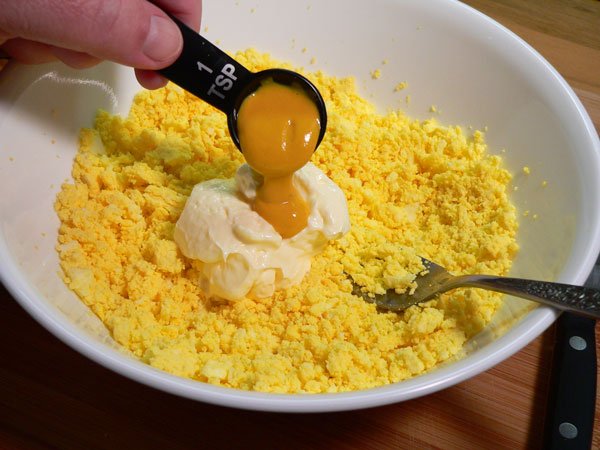
Add the Mustard.
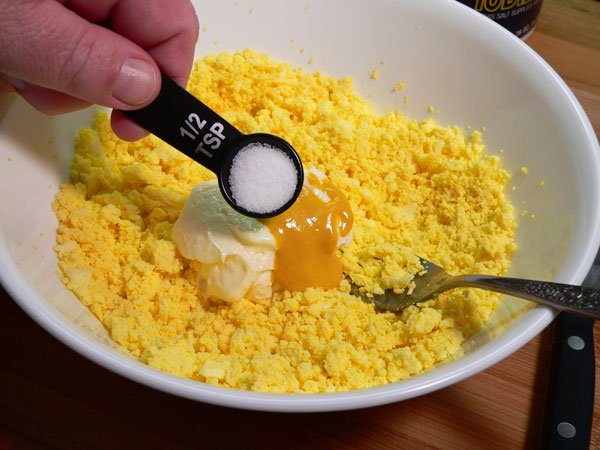
Add the Salt.
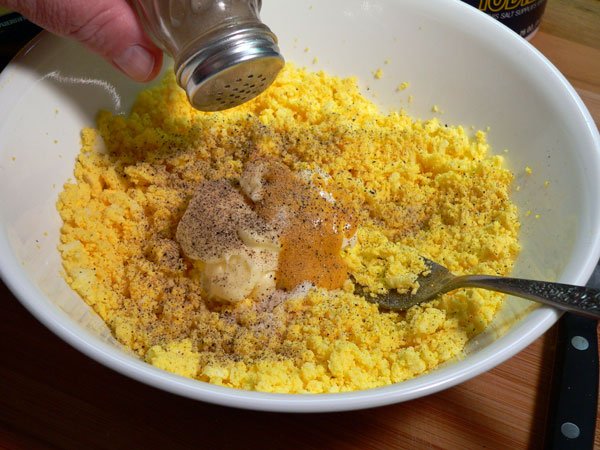
Sprinkle on some Black Pepper.

I chopped up some of my Sweet Pickles that I made last summer to use in place of the Sweet Relish.
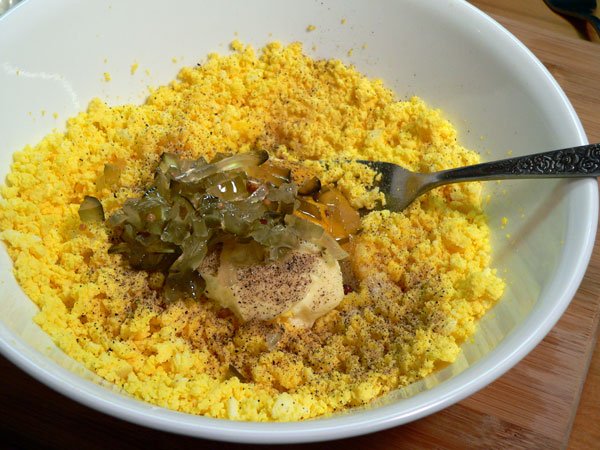
Add the Sweet Pickle Relish to the bowl. These slightly bigger pieces of pickle also give the finished product a little crunch when you bite into them. I kind of like that.
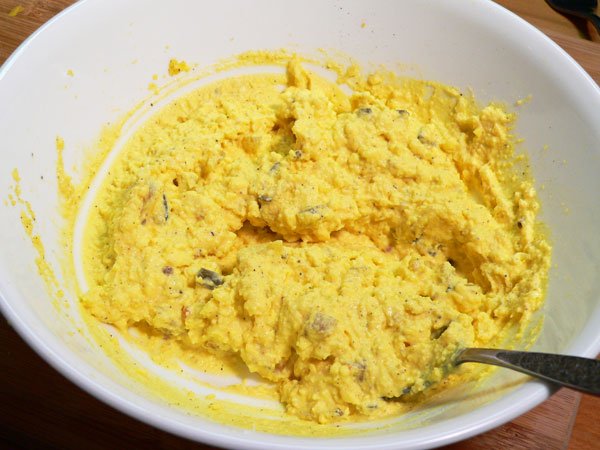
Mix all the ingredients well with your fork. Give it a taste and see if it needs a little more of one of the ingredients. Adjust as needed to suit your taste preference.
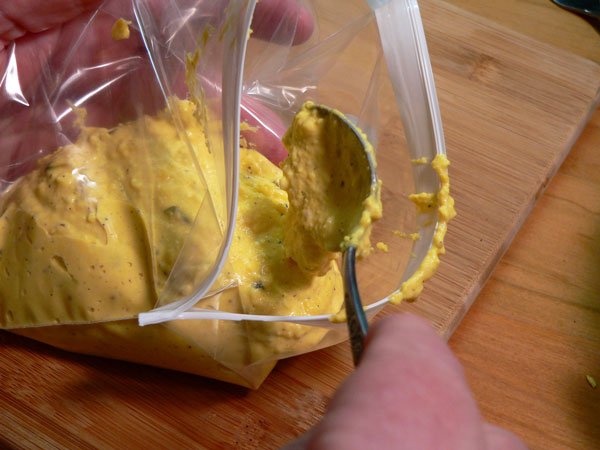
At this point, you could just go ahead and spoon the mixture into your egg bowls. Or, spoon the mixture into a Zip-lock type plastic bag and close it up.
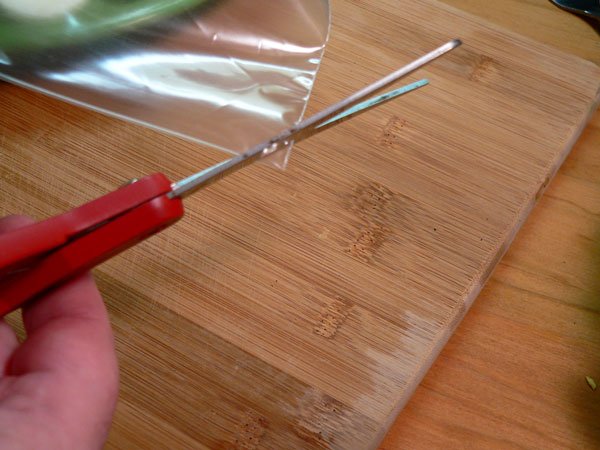
Using some scissors, clip off one of the corners of the bag.
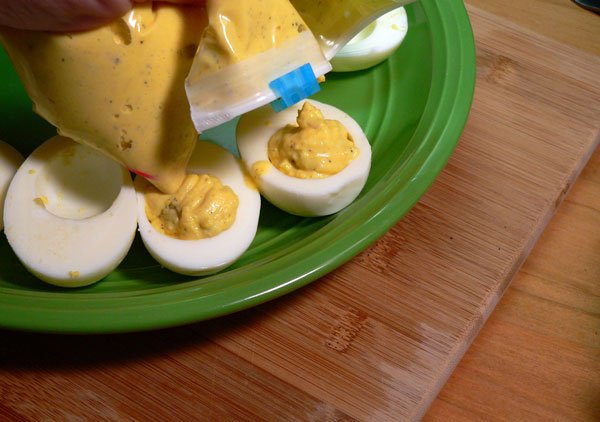
Squeeze enough of the mixture into each of the egg whites to fill it up and above the top.
Some folks like to use pastry bags with cake decorating tips to make their eggs look a little more fancy. If you think you’d like to do this, reduce the amount of Mayonnaise that you add in the beginning so the mixture will be much thicker. You’ll need it somewhat drier and thicker in order for it to hold its shape once you start to pipe it out into the egg bowls.
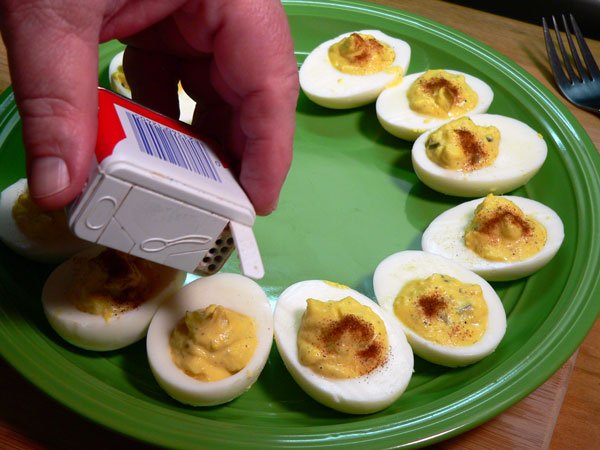
Sprinkle the tops with a little Paprika to give them some added color. I suggest you sprinkle them before you place them on your Deviled Egg Platter if you’re using one of those, especially if its white. It will make for a cleaner looking presentation to not have the dish covered with Paprika.
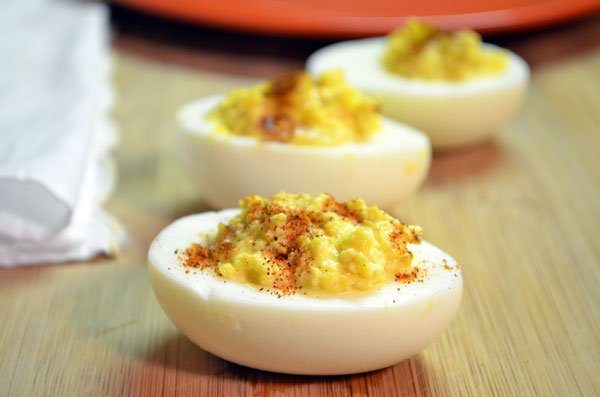
Serve and Enjoy!
As I mentioned at the start of this recipe, Deviled Eggs are very versatile and can be made in so many different ways. This is just a simple and basic recipe to get you started. You can make them as spicy as you like by topping them with Jalapeno Peppers, or good and savory with some chopped bacon, spring onions, sliced olives and… the list just goes on and on. I hope you’ll give them a try and be sure to leave us a comment in the section below to tell us how you like them.


