
Follow our Step-by-step, photo illustrated instructions for making Old Fashioned Buttermilk Pancakes. A deliciously easy, made from scratch recipe for equally delicious pancakes. We’re cooking these in our cast iron griddle but any frying pan or griddle will work. Just top with butter and syrup for a quick and easy breakfast meal that you can say you made all by yourself.

Old Fashioned Buttermilk Pancakes Recipe:

This is my Cousin Curtis. Recently, Curtis and his wife Francis, invited several members of the family and some friends over to his house for his World Famous Homemade Brunswick Stew. I was going to say it’s not really world famous but by the time this has been on the Internet for a little while, it will at least be KNOWN around the world. We get visitors to our site from all around the globe you know…and thank you for that.
Curtis is holding an old cast iron griddle that he was giving to me. Seems he had heard me talking on my radio program, back during the summer, about how my mama use to bake cornbread and hoe cakes in her cast iron skillets and griddle. Now, I have my mama’s skillet but I didn’t have a griddle and I must have mentioned this on the air that day. Cousin Curtis, being the super nice fellow that he is, saw this one at a Yard Sale and decided he’d pick it up and gift it to me. He had it wrapped up in a plastic bag and started telling me how both his mom and my mom use to prepare cornbread on a griddle just like this one.
I gratefully accepted the griddle and thanked him for it. That turned into a discussion on how to restore the pan and I began telling Curtis how I had cleaned Mama’s skillet by scrubbing it with Aluminum Foil. “It really works,” I told him. And, considering this one was in pretty decent shape, I brought it on home and gave it a good scrubbing. It just cleaned right up.
Thank you again Curtis for the griddle. Look for it here on Taste of Southern for many recipes to come. And Curtis, don’t forget that I’m still waiting for that Brunswick Stew Recipe….only…..I don’t think I’ll really be making as much as you did.
Did I mention that Curtis has been making his stew for years and started out actually cooking it in an old cast iron wash pot? Sure enough, he did. But, Cousin Curtis has moved into the more modern days and ways of doing things. He had a very, very large stockpot sitting over a gas burner and, he stirred it with what almost looked like a boat paddle. And, when he started reeling off the ingredients to me, he was talking in gallons of tomatoes, 20lb bags of potatoes, 3 types of meat and bunches of other stuff. It was absolutely delicious and it’s always good anytime family and friends can gather together around the table.
I scrubbed up the griddle and decided these Buttermilk Pancakes would be a great way to start seasoning up the pan. So, if you’re ready for some made from scratch pancakes…..Let’s Get Cooking!
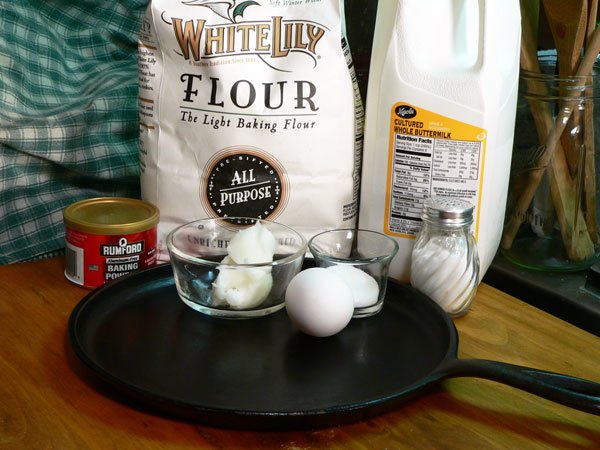
Buttermilk Pancakes Recipe: You’ll need just a few ingredients.
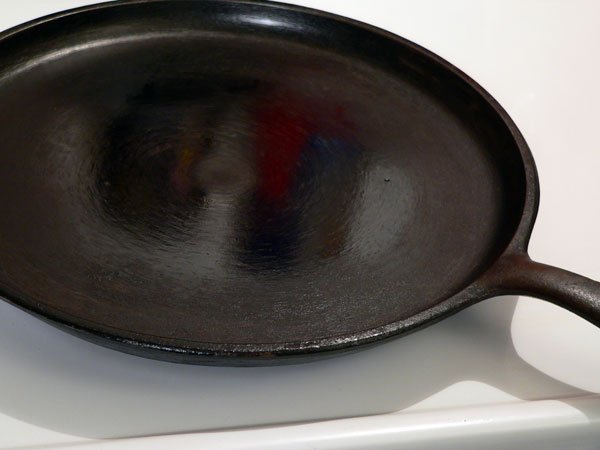
See how well the Aluminum Foil worked. One day, I’ll do a full post on how to clean up and season your cast iron. Since the one Curtis gave me was in pretty good shape, it didn’t require much elbow grease to get it clean. I just balled up a bit of Aluminum Foil and used it as a scrubbing pad to remove the old rust and any baked on food stuff. Once the pan was cleaned, I washed, dried and seasoned it up. I think it turned out pretty good….let’s just see how well it cooks.
Begin by placing the griddle on your burner and turning the heat just a notch or so below Medium. The griddle needs to warm up completely before you pour the batter in. We’ll mix the batter, then I’ll show you one way to test the griddle to be sure it’s hot enough to begin cooking in.

It’s not necessary but, I also made up this small Salt Bag. It’s just a piece of Cheesecloth about 6 inches square that I’ve added a couple of Tablespoons of regular table salt too and tied up the ends. What’s it for you ask? Keep reading…you’ll see a little later down the page.

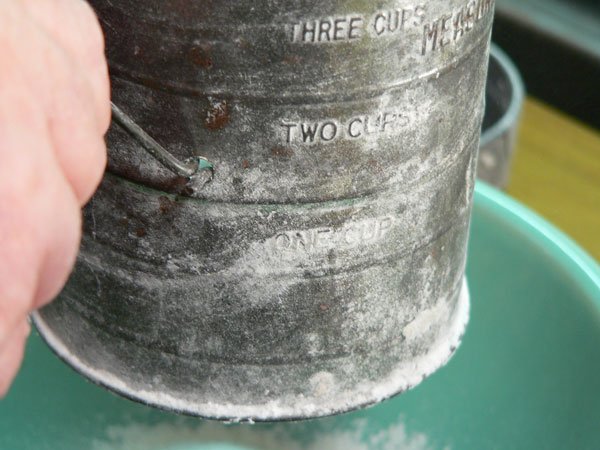
Grab a medium sized mixing bowl and your sifter. Measure out the flour and place it in the sifter. If you don’t happen to own a sifter, just place all the following ingredients in the mixing bowl and then whisk them together with a fork or wire type whisk.
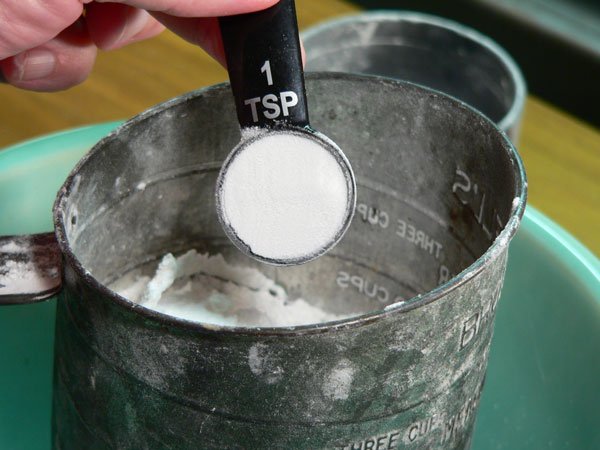
Add the Baking Powder.
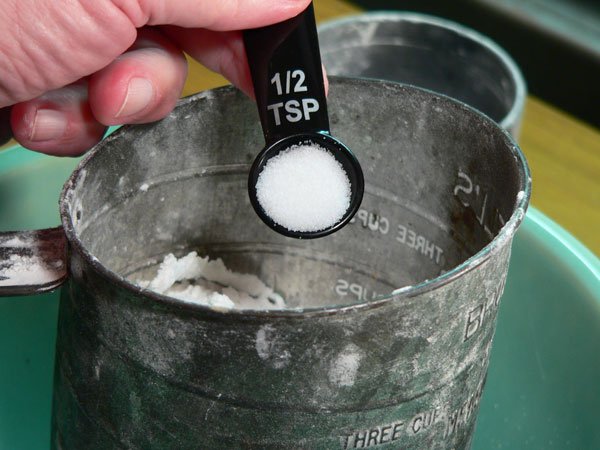
Add the Salt.

Add the Sugar.
Sift the ingredients together…..then…..set them aside.
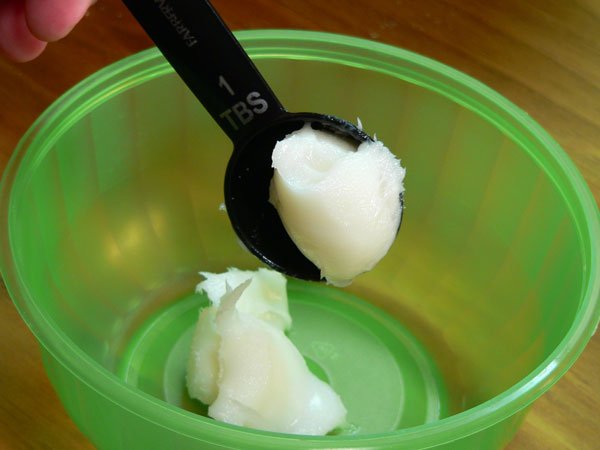
Grab another smaller bowl and add the Lard or shortening.
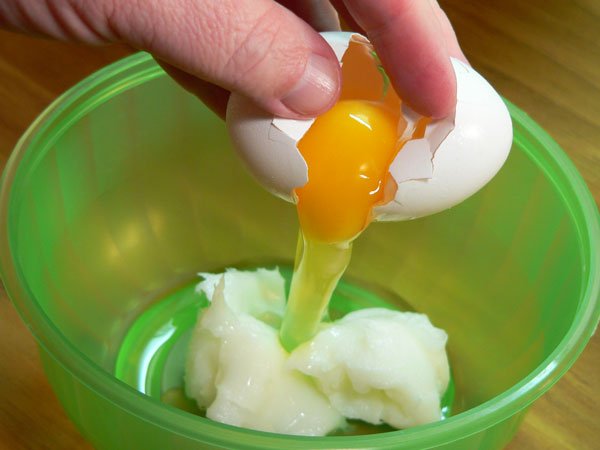
Crack open an Egg, balance it in your left hand and, take a picture of it all with your right hand holding the camera. Or, just break the egg without taking a picture of it, whichever is easiest for you. Smile.
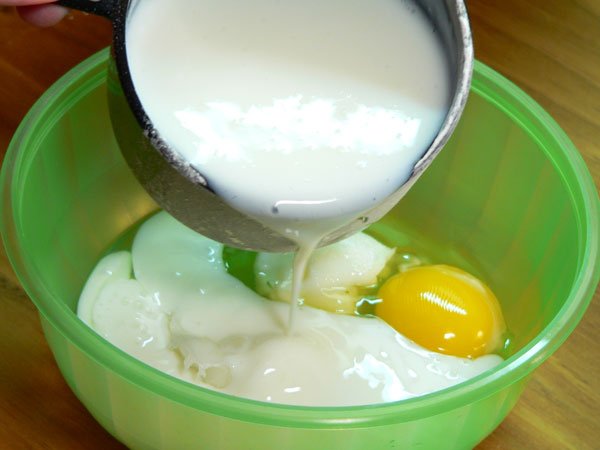
Add the Buttermilk.
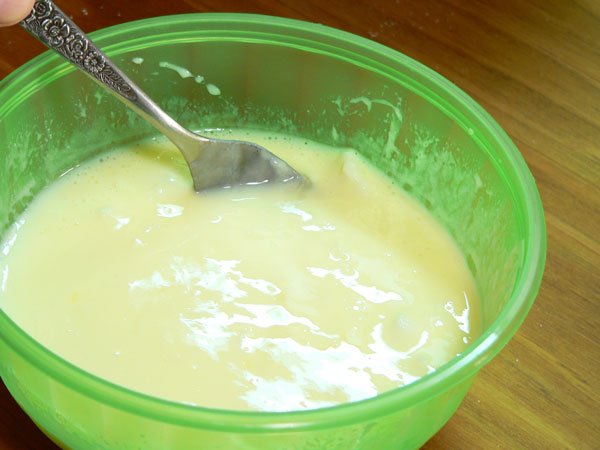
Grab a fork and mix up the wet ingredients. Use the fork to breakup the Lard or Shortening as you go. A few lumps aren’t going to matter.

After you have the dry ingredients mixed and then the wet ingredients mixed, it’s time to test the griddle and be sure it’s hot enough to add the batter. You can do this easily by dropping a few drops of water into the pan. If the water starts to sizzle and dance around, the griddle is hot enough to begin making the pancakes. You want to make sure the griddle is good and warm before you add the batter.
Once the griddle is hot….add a few drops of cooking oil or maybe a little bit of the lard or shortening. You can use a paper towel to brush it all around the surface of the griddle but just remember….it’s HOT…so watch your fingers.
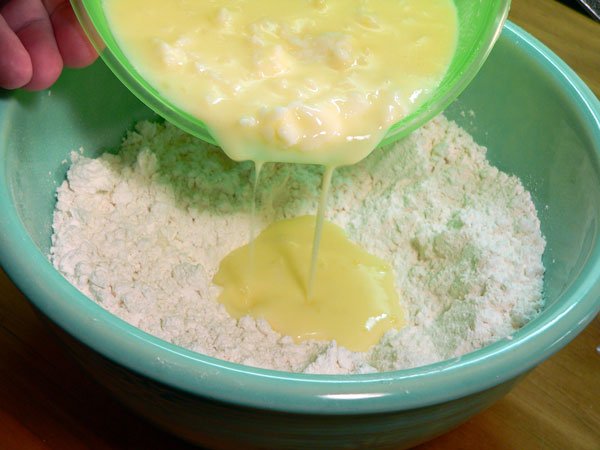
When the griddle is hot enough, take the wet ingredients and pour them into the bowl of dry ingredients.

Give the ingredients a quick stir, just enough to incorporate them all together. Scrape down the bowl as you go. Don’t stir it but just a little, just mix it all together and don’t worry about any lumps in the batter. They’re OK.

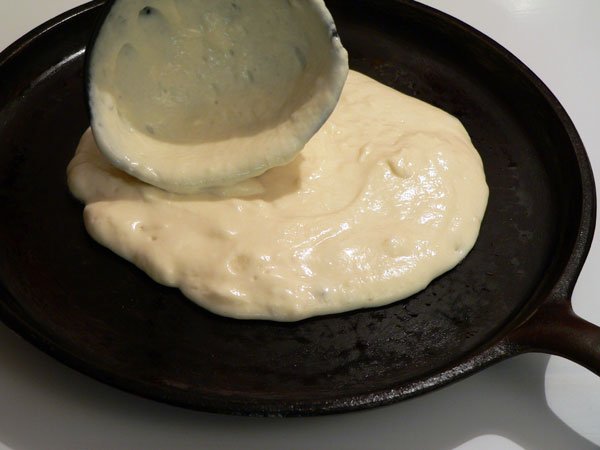
Use a large spoon, ladle, or measuring cup and add about 1/2 cup of the batter to the greased griddle or pan. Use the back of the spoon to gently spread out the batter if it’s thick and doesn’t spread out quickly. We’re making big pancakes as you can see. You could also make smaller ones by adding about 1/4th cup of batter at a time. That way, you could probably fit two or three smaller pancakes on the griddle at one time. I just prefer the big one’s myself. Think BIG….DREAM BIG.

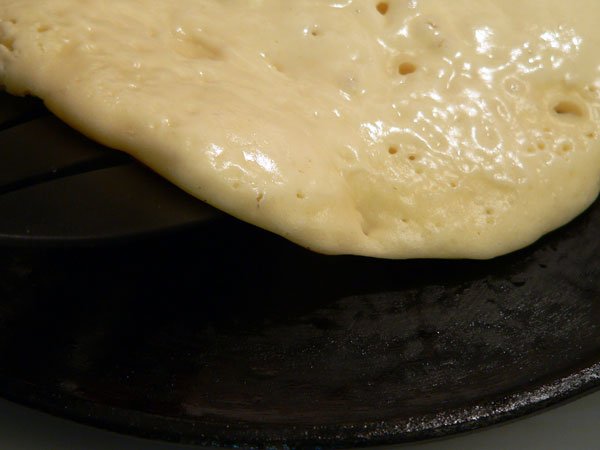
Watch the edges of your pancakes as they cook. The edges will start out all shiny and glossy in the beginning. As it cooks, the edges will begin to dry, bubbles will form and burst and, then the bottom edge will start to turn brown. You can see this browning in the left side of the photo above. Once this happens, it’s time to turn them over. This may take 2 -3 minutes or longer. It really depends on how hot the pan is.
Take a spatula and gently lift up one edge of the pancake. It should come up easily from the pan without any sticking….if it’s starting to cook sufficiently. Slip the spatula under the pancake and gently flip it over with a quick flip of the wrist.

Even with just a little browning showing around the bottom edges, my pancake had started to overcook in some spots. I seem to have a bit of a hot spot on the burner. And, I’m cooking this on one of my smaller burners instead of the larger one. It’s just easier for me to take pictures from the left side of my stove. You may not experience any problems with yours. It will take a little practice to figure out when they need to be turned but after making a few, it gets easier. Flipping them also gets easier….I think….ummm….maybe not. Of course it will. Think positive.
This is why it’s important to smooth the batter around when you first place it in the pan. You don’t want a bunch of batter piled up in the middle of the pan and then thinning out towards the edges. The edges will brown quickly and then it will be difficult to flip the lesser cooked batter in the middle over without making a big mess or even breaking the pancake. Practice, practice, practice. At least you get to eat the results either way.
Also, keep in mind that the second side will cook in about HALF the time it took to cook the first side. Watch it closely and don’t let them burn.

Remove the pancake and sit it on a plate. If any part of it stuck to your griddle, take the salt bag and lightly rub it around the surface of the griddle. Do this ONLY with a cast iron griddle. You don’t want to do this if you’re using a Teflon coated pan as you’ll ruin the finish. It’s just an old timers trick to clean the griddle a bit. Be very careful though…that griddle is hot and you could easily burn your fingers if you aren’t paying attention. Then, add a little more shortening or cooking oil to the pan.
Repeat the process again until you’ve used up the batter. This recipe made 3 very large pancakes, each one about the size of the griddle itself.

Stack your pancakes up on a plate, add some butter if you like and of course….add some of your favorite Syrup. Aunt Jemima or Log Cabin Syrup are just a few choices that come to mind….unless you live in Vermont and can get some real Maple Syrup…or…maybe at least KNOW someone in Vermont that would be a really good friend and send you a bottle. Just saying.
Serve warm and Enjoy!


